June 2026 Design Challenge: How to Use a Charcoal Grill
The unmistakable sizzle of the sear and infusion of smoky, caramelized flavors makes charcoal grilling the preferred choice of everyone from backyard burger flippers to pitmasters. While gas grills are easy to use and require little preparation, they just can’t replicate the smells, heat range, and flame-cooked goodness of charcoal.
Coalridge Grills manufactures a wide range of charcoal grills perfect for use at home, campsites, and tailgates. No matter if cooks are entertaining a crowd or making a family meal, grillers depend on Coalridge to produce the flavor and heat needed to craft perfect meats and veggies.
Experienced charcoal chefs have their methods down pat, ranging from the arrangement of charcoal to the proper venting, temperature, and timing needed for a particular food item. For instance, a steak requires a different strategy than a kabob or a chicken breast, so cooks must use heat, air, and time to plan their approach. Learning how to grill with charcoal can be intimidating—prepping the coals requires patience, airflow needs attention, and nobody wants to serve an extra crispy burger with a raw center or a grey, dry steak. A gas unit is ready to cook with the flip of a switch, so why go with charcoal?
✅ The Challenge
Summer grilling season is here, and Coalridge is executing a strategy to attract first-time charcoal chefs by making it easy to cook with confidence. Marketing leaders have created a Get Fired Up promotion that includes a standard kettle-style grill, charcoal, igniter, and a cleaning brush. Once a barbecuer gets practice heating coals, adjusting vents, and searing brats, their grilling options multiply—and so will their ownership of Coalridge products.
You are an instructional designer at Coalridge who is partnered with Marketing SMEs to design an eLearning course on charcoal grill setup and operation. The course will accompany the Get Fired Up promo bundle via QR code, providing grillside support. Marketing wants to tackle the major hurdles of charcoal grilling head on—safe ignition, briquette preparation, determining how much to vent, and distributing heat. In addition, they would like to lay the groundwork to encourage new grillers to test the waters by including some cooking basics, such as how to grill a burger to various states of doneness (medium rare, well done, etc.).
After completing this course, learners should be able to:
Determine when the ignited charcoal is ready to cook on.
Judge how much to open vents on the Coalridge kettle-style grill when cooking a given food item (such as chicken breast, brats, kabobs, etc.).
Successfully ignite briquettes to start the cooking process by avoiding high flames or other hazards.
Achieve a stated level of doneness of a main dish, such as a medium-rare burger.
Troubleshoot common cooking issues, such as food cooking too quickly, drying out, etc.
Distribute heat inside the grill to cook multiple items (such as kabobs with a steak or ribs).
📋 Requirements & Constraints
As you design and develop your course, keep the following requirements and constraints in mind:
Interactivity & Content Presentation: Ideally, your solution will include decision-based interactions or scenarios to reinforce the skills being taught. Here are some ideas for how you might present your content and make it interactive:
Use a drag-and-drop interaction combined with a number variable to have learners test a food for doneness with a digital grill thermometer.
Incorporate a dial or slider to “turn up the heat” in the grill when determining whether the charcoal is ready to cook on.
Include sound effects to replicate the sizzle of the sear, burger flipping, etc.
Create a branching scenario where the learner in the shoes of the griller and needs to decide timing, temperature, etc. The scenario results in a meal that may be perfect, too overdone, not timed properly… the sky’s the limit.
Bring charcoal to life with states and variables to show change in temperature and ashy appearance.
Incorporate decision-making moments focused on troubleshooting common issues such as dryness, charring, food too rare, etc.
Design a doneness challenge including multiple elements (sear, internal temperature, etc.) depending on successful grill operation, like venting and cook time.
Authoring Tools: You are free to use any eLearning authoring tool you’d like, including Articulate Storyline, Rise, Mindsmith, We Are, etc. If you’re feeling adventurous, you are also free to try vibe coding your project using Claude Design, Lovable, etc.
Visual Design: You are free to design the course in any way you’d like; however, it should demonstrate good visual design best practices with a cohesive and consistent use of font, colors, images, and graphics. We suggest designing your course to align with the provided client style guide below. If you’re new to visual design, check out this playlist of videos to help you get started.
🎨 Style Guide
To help in the design of your eLearning course, you can view and download the client style guide and brand assets below. You are free to use these to design a branded course template or create your own design.
Coalridge_StyleGuide.pdfCoalridge_Assets.zip📑 Reference Materials
As you design and develop your course, you can create your own content from scratch or source your content from the following references:
🏆 Submission Guidelines & Contest Rules
Once you're done building your course, you can submit it by commenting below and sharing a link to your finished project. Along with a link to your published course, share a few words explaining your design decisions, challenges, inspiration, etc.
To be eligible to win the $100 Amazon gift card, your submission must be posted no later than Friday, June 26th, at 11:59 PM ET.
You can learn more about the contest rules and criteria here.
If you’d like to get more eyes on your submission and encourage others to participate in the challenges, you might also consider…
Writing a Blog Post: If you happen to have a blog or online portfolio, write a post about your submission and share it on social media. Make sure to link to it in the comments below for others to see!
Record a Video: If you want to share how you went about designing your submission, record and share a screen recording video (via Loom, Camtasia, SnagIt, or YouTube) to showcase and explain your process. And, of course, don't forget to share a link to it in the comments below!
Share on Social Media: If you’re active on LinkedIn, Twitter, or another social media platform, create a post to share your submission. If possible, make sure to link back to this page and tag The eLearning Designer’s Academy on LinkedIn in your post.
💬 Give & Get Feedback
After you've shared your submission, make sure to review what others have submitted and provide constructive feedback. Remember, the monthly challenges (and this community as a whole) are meant to provide an inclusive and supportive environment. As you provide feedback, make sure to keep our Code of Conduct in mind.
As you work to develop your project, also consider sharing your work-in-progress for community feedback in our Get Feedback space here.
🎉 Challenge Recap, Submissions & Winner
For this month, we’re excited to announce @Aleksandr Litvinov as this month’s Design Challenge winner with his submission, The Countdown! 🎉
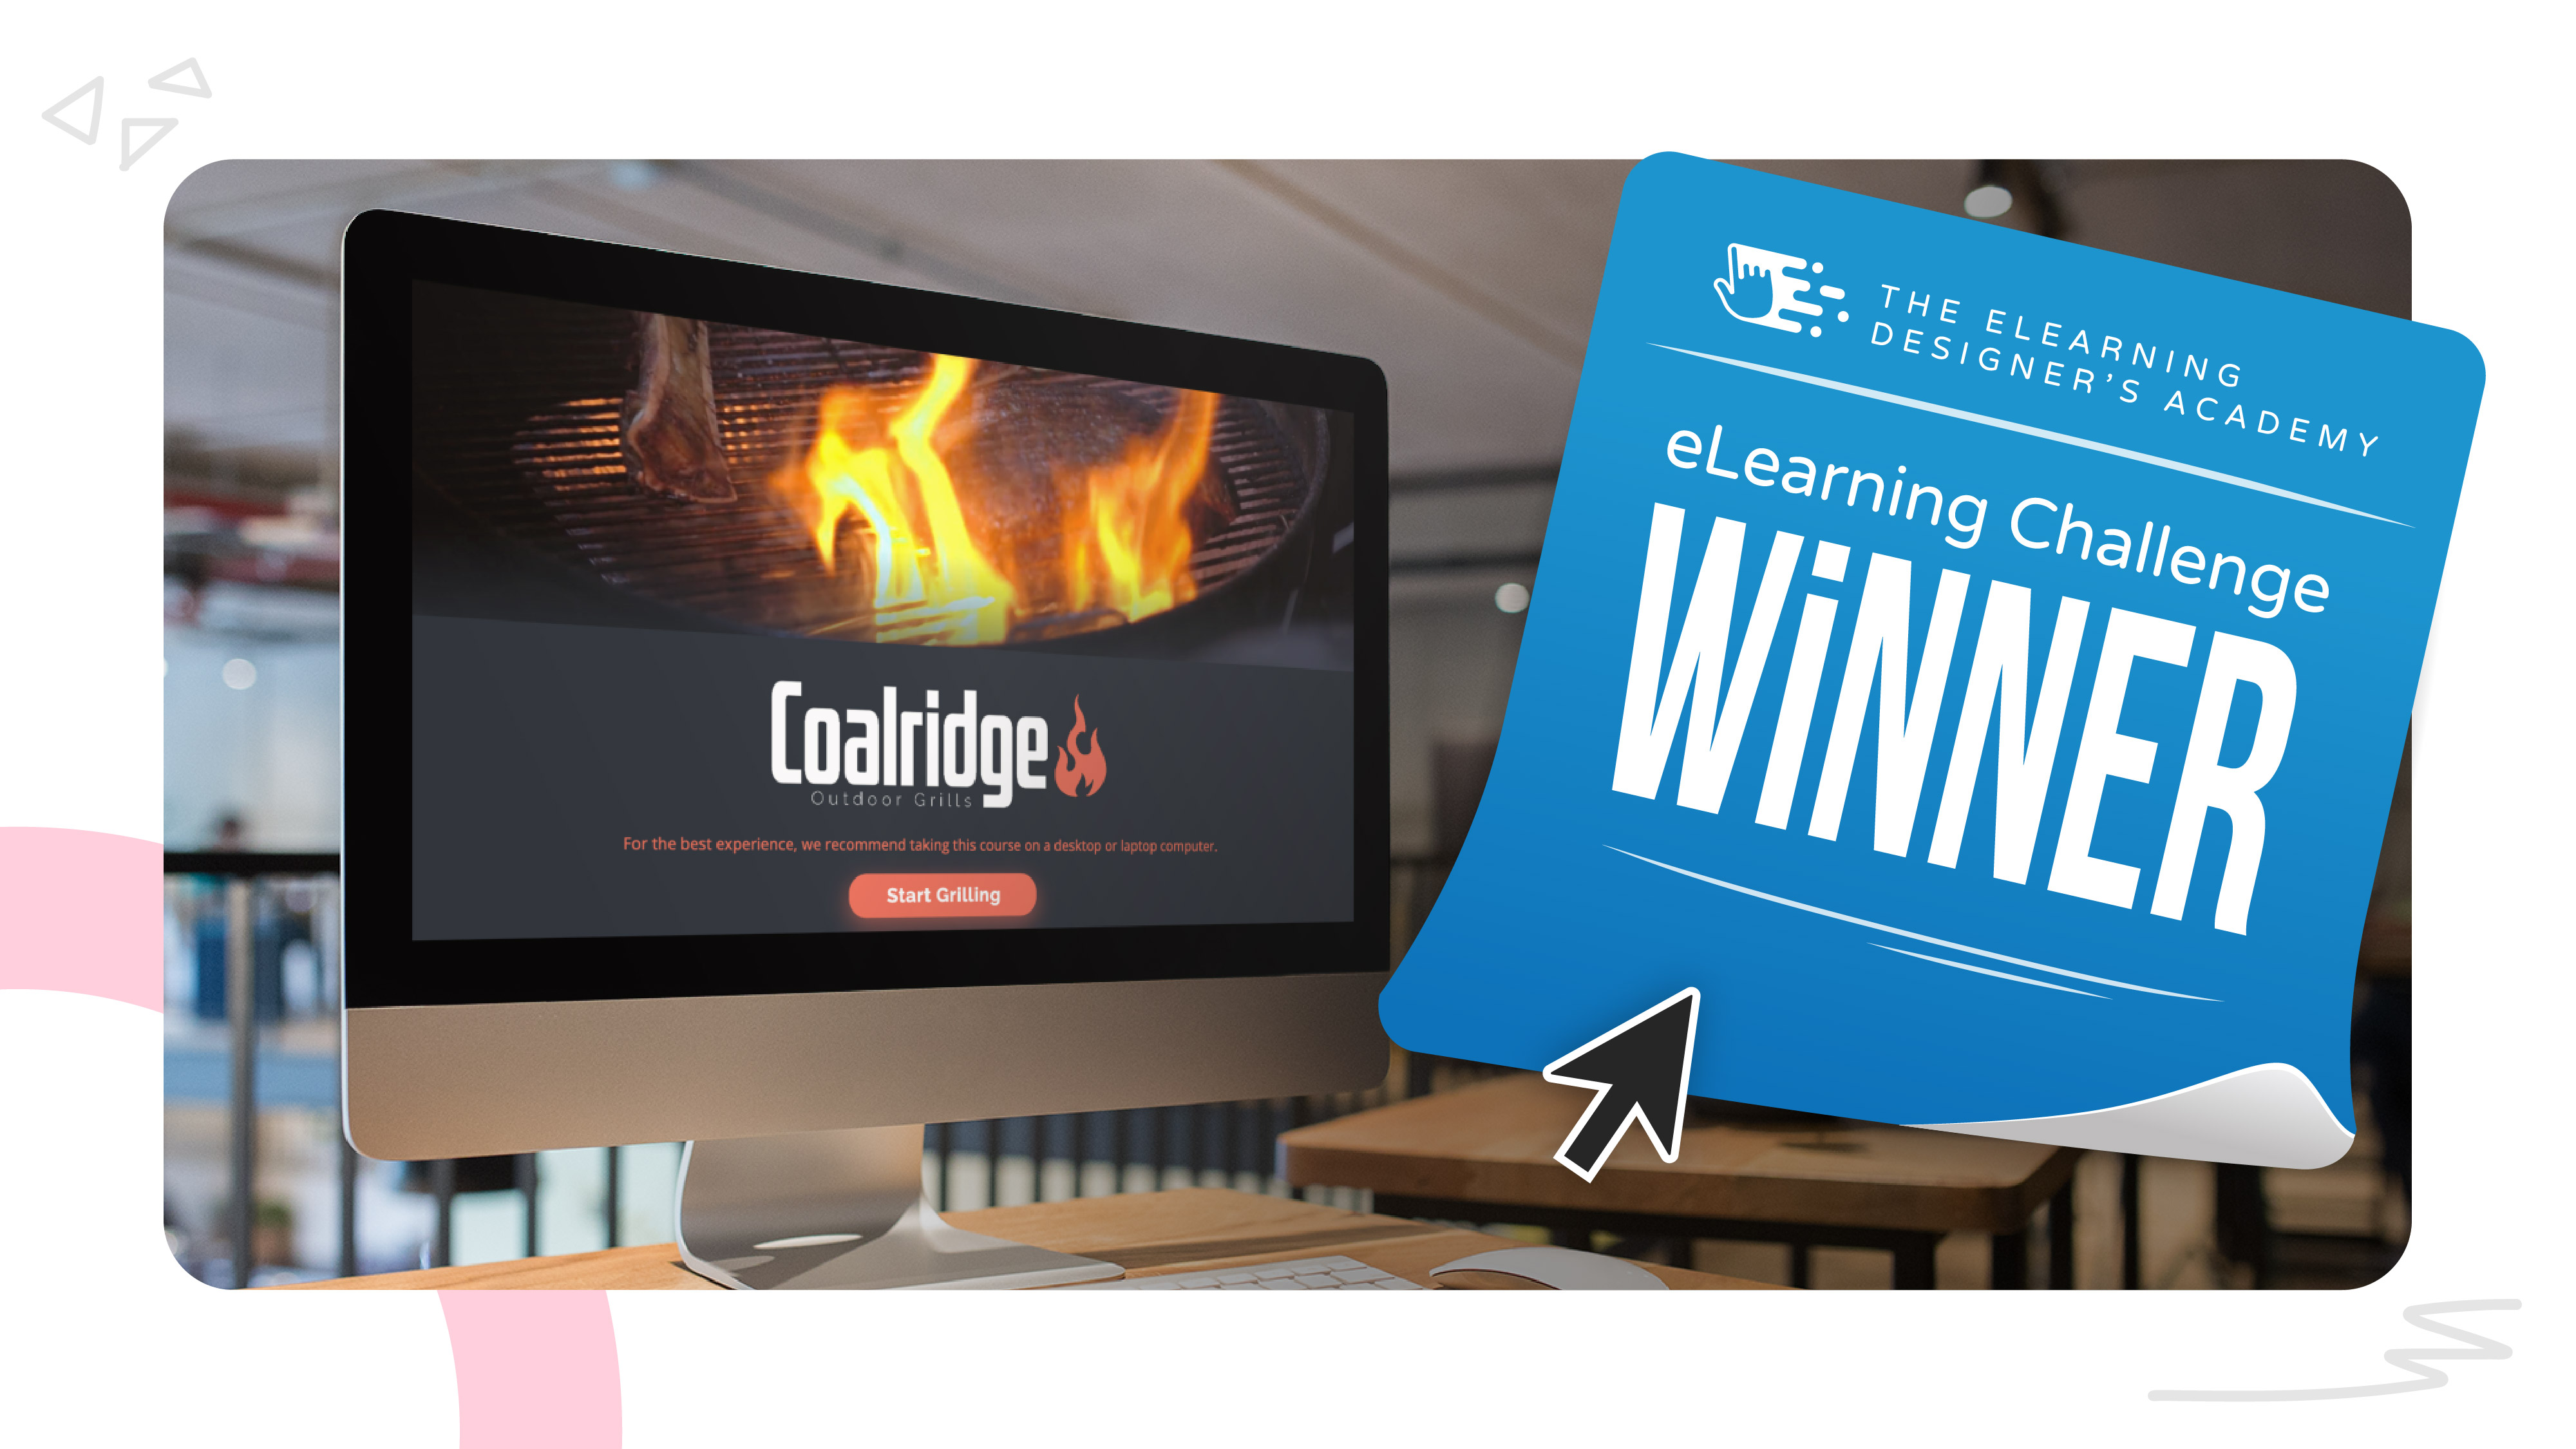
What we loved about Aleksander’s submission was his use of storytelling and video to create an engaging and interactive experience.
Check out all of this month’s challenge submissions (in no particular order):
🙋♂️ New to the Design Challenges?
If you're new to the eLearning challenges, check out this post to learn how they work.