How to Use Canva Graphics in Articulate Storyline
One of the biggest challenges that a lot of instructional designers and eLearning developers face when creating a course in Articulate Storyline—or any eLearning authoring tool, for that matter—is finding the right graphics.
But, if you’re like a lot of folks, you may have discovered that Canva offers a huge library of free templates and graphics, which can make it easy to design beautiful slides and graphics for your eLearning courses. However, one question you may have asked yourself is how you can get these graphics out of Canva and into a tool like Articulate Storyline.
Well, the good news is as long as you have PowerPoint, it’s pretty easy! So, in this article, I’ll share how to use graphics and templates from Canva in Articulate Storyline.
Step One: Create a Canva Presentation
The first step for using Canva graphics in Articulate Storyline is to create a new presentation in Canva. As I mentioned in the introduction, Canva offers a huge library of different presentation templates, graphics, and much more. And the reason I like to start with a presentation is that you can choose from a series of different layouts, each with consistent design elements.
As you browse the various templates, think about the topic of your course, the branding of your organization, and the overall theme of the course. For example, if you’re designing and developing an eLearning course on a serious topic (like anti-discrimination or something similar), you’ll want to avoid those templates that are too whimsical or flashy.
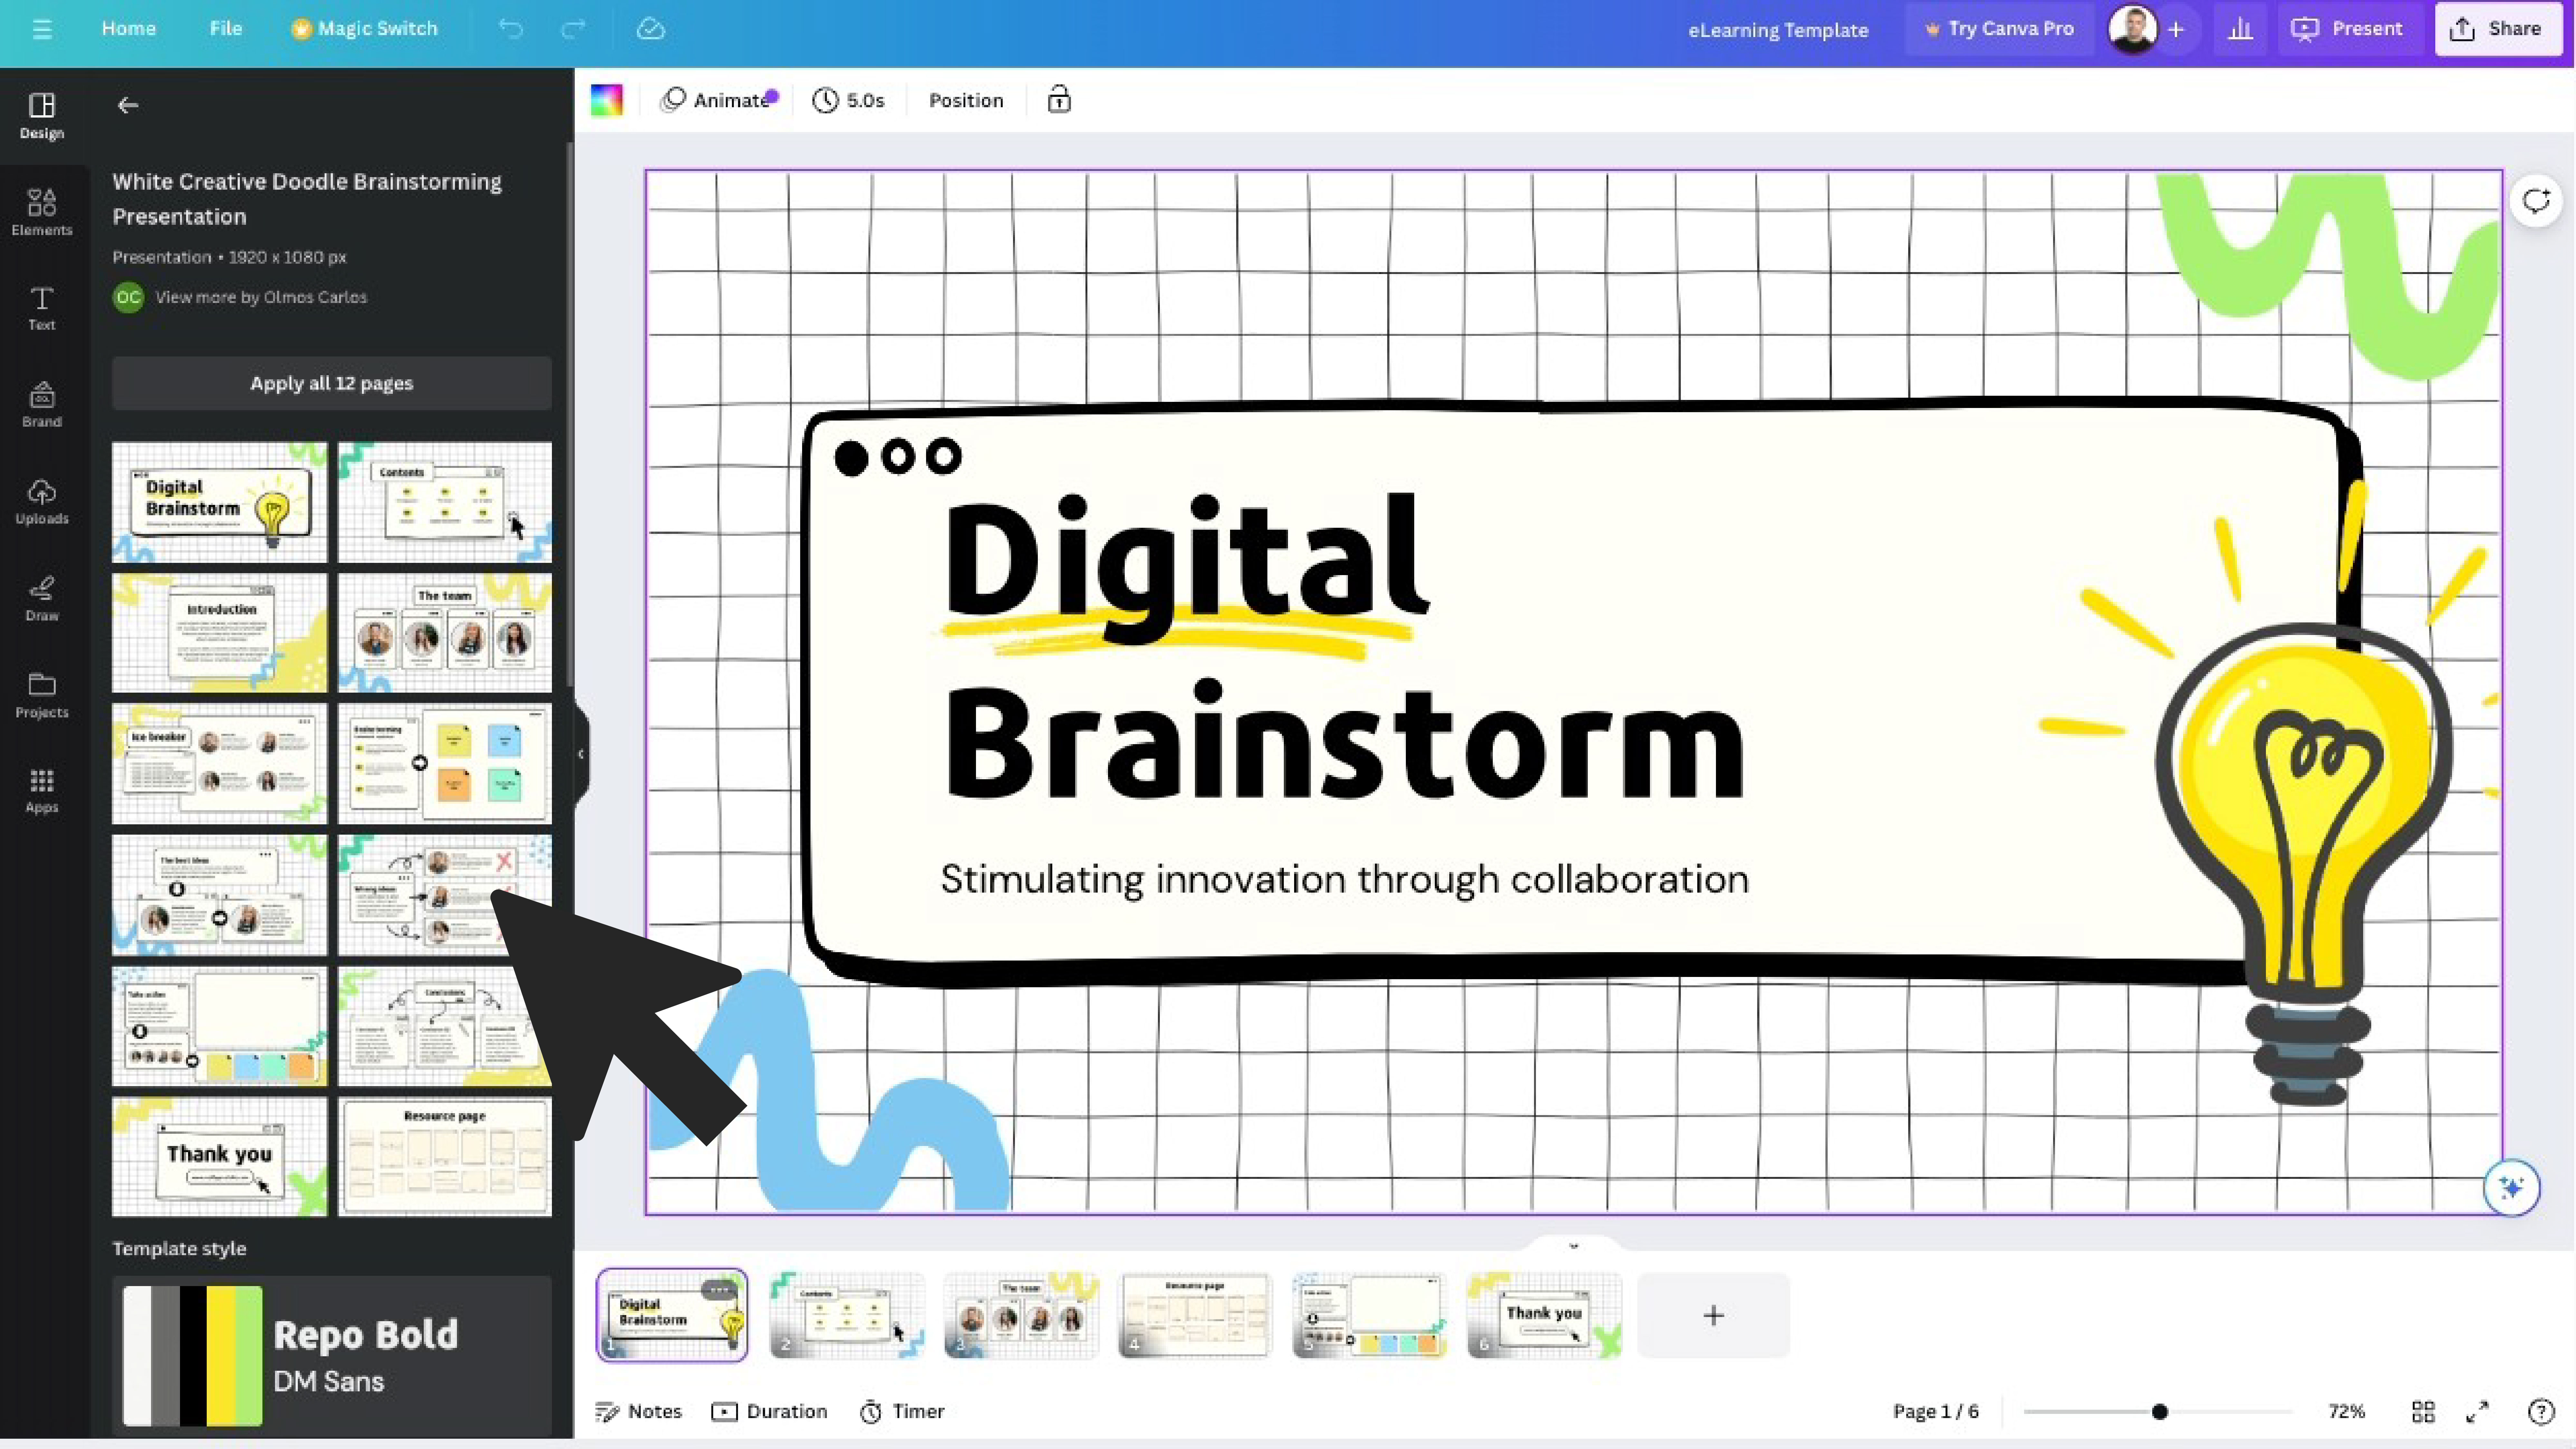
Once you’ve picked a template and started creating your Canva presentation, don’t worry about designing each of your actual course slides in Canva. At this point, your goal is to simply create a series of slides that contain the design elements and graphics that you ultimately want to use in Storyline.
Free Course: 10-Day Career Mindset Reset
Inside The eLearning Designer’s Academy, we think a little differently about professional development and career growth. Enroll in our free 10-Day Career Mindset Reset to start thinking differently about your skills, career, and confidence!
Step Two: Download the Cavna Presentation as a .PPTX
After you’ve selected your template and created some slides with your desired graphics and designs, the second step for using Canva graphics in Storyline is to download the presentation as a PPXT.
Now, this step is particularly important as Canva doesn’t allow you to download or export individual graphics. And yes, while you can download whole slides as JPG or PNG images, remember—we want to be able to use and export the individual graphics so that we can manually insert and manipulate them in Articulate Storyline.
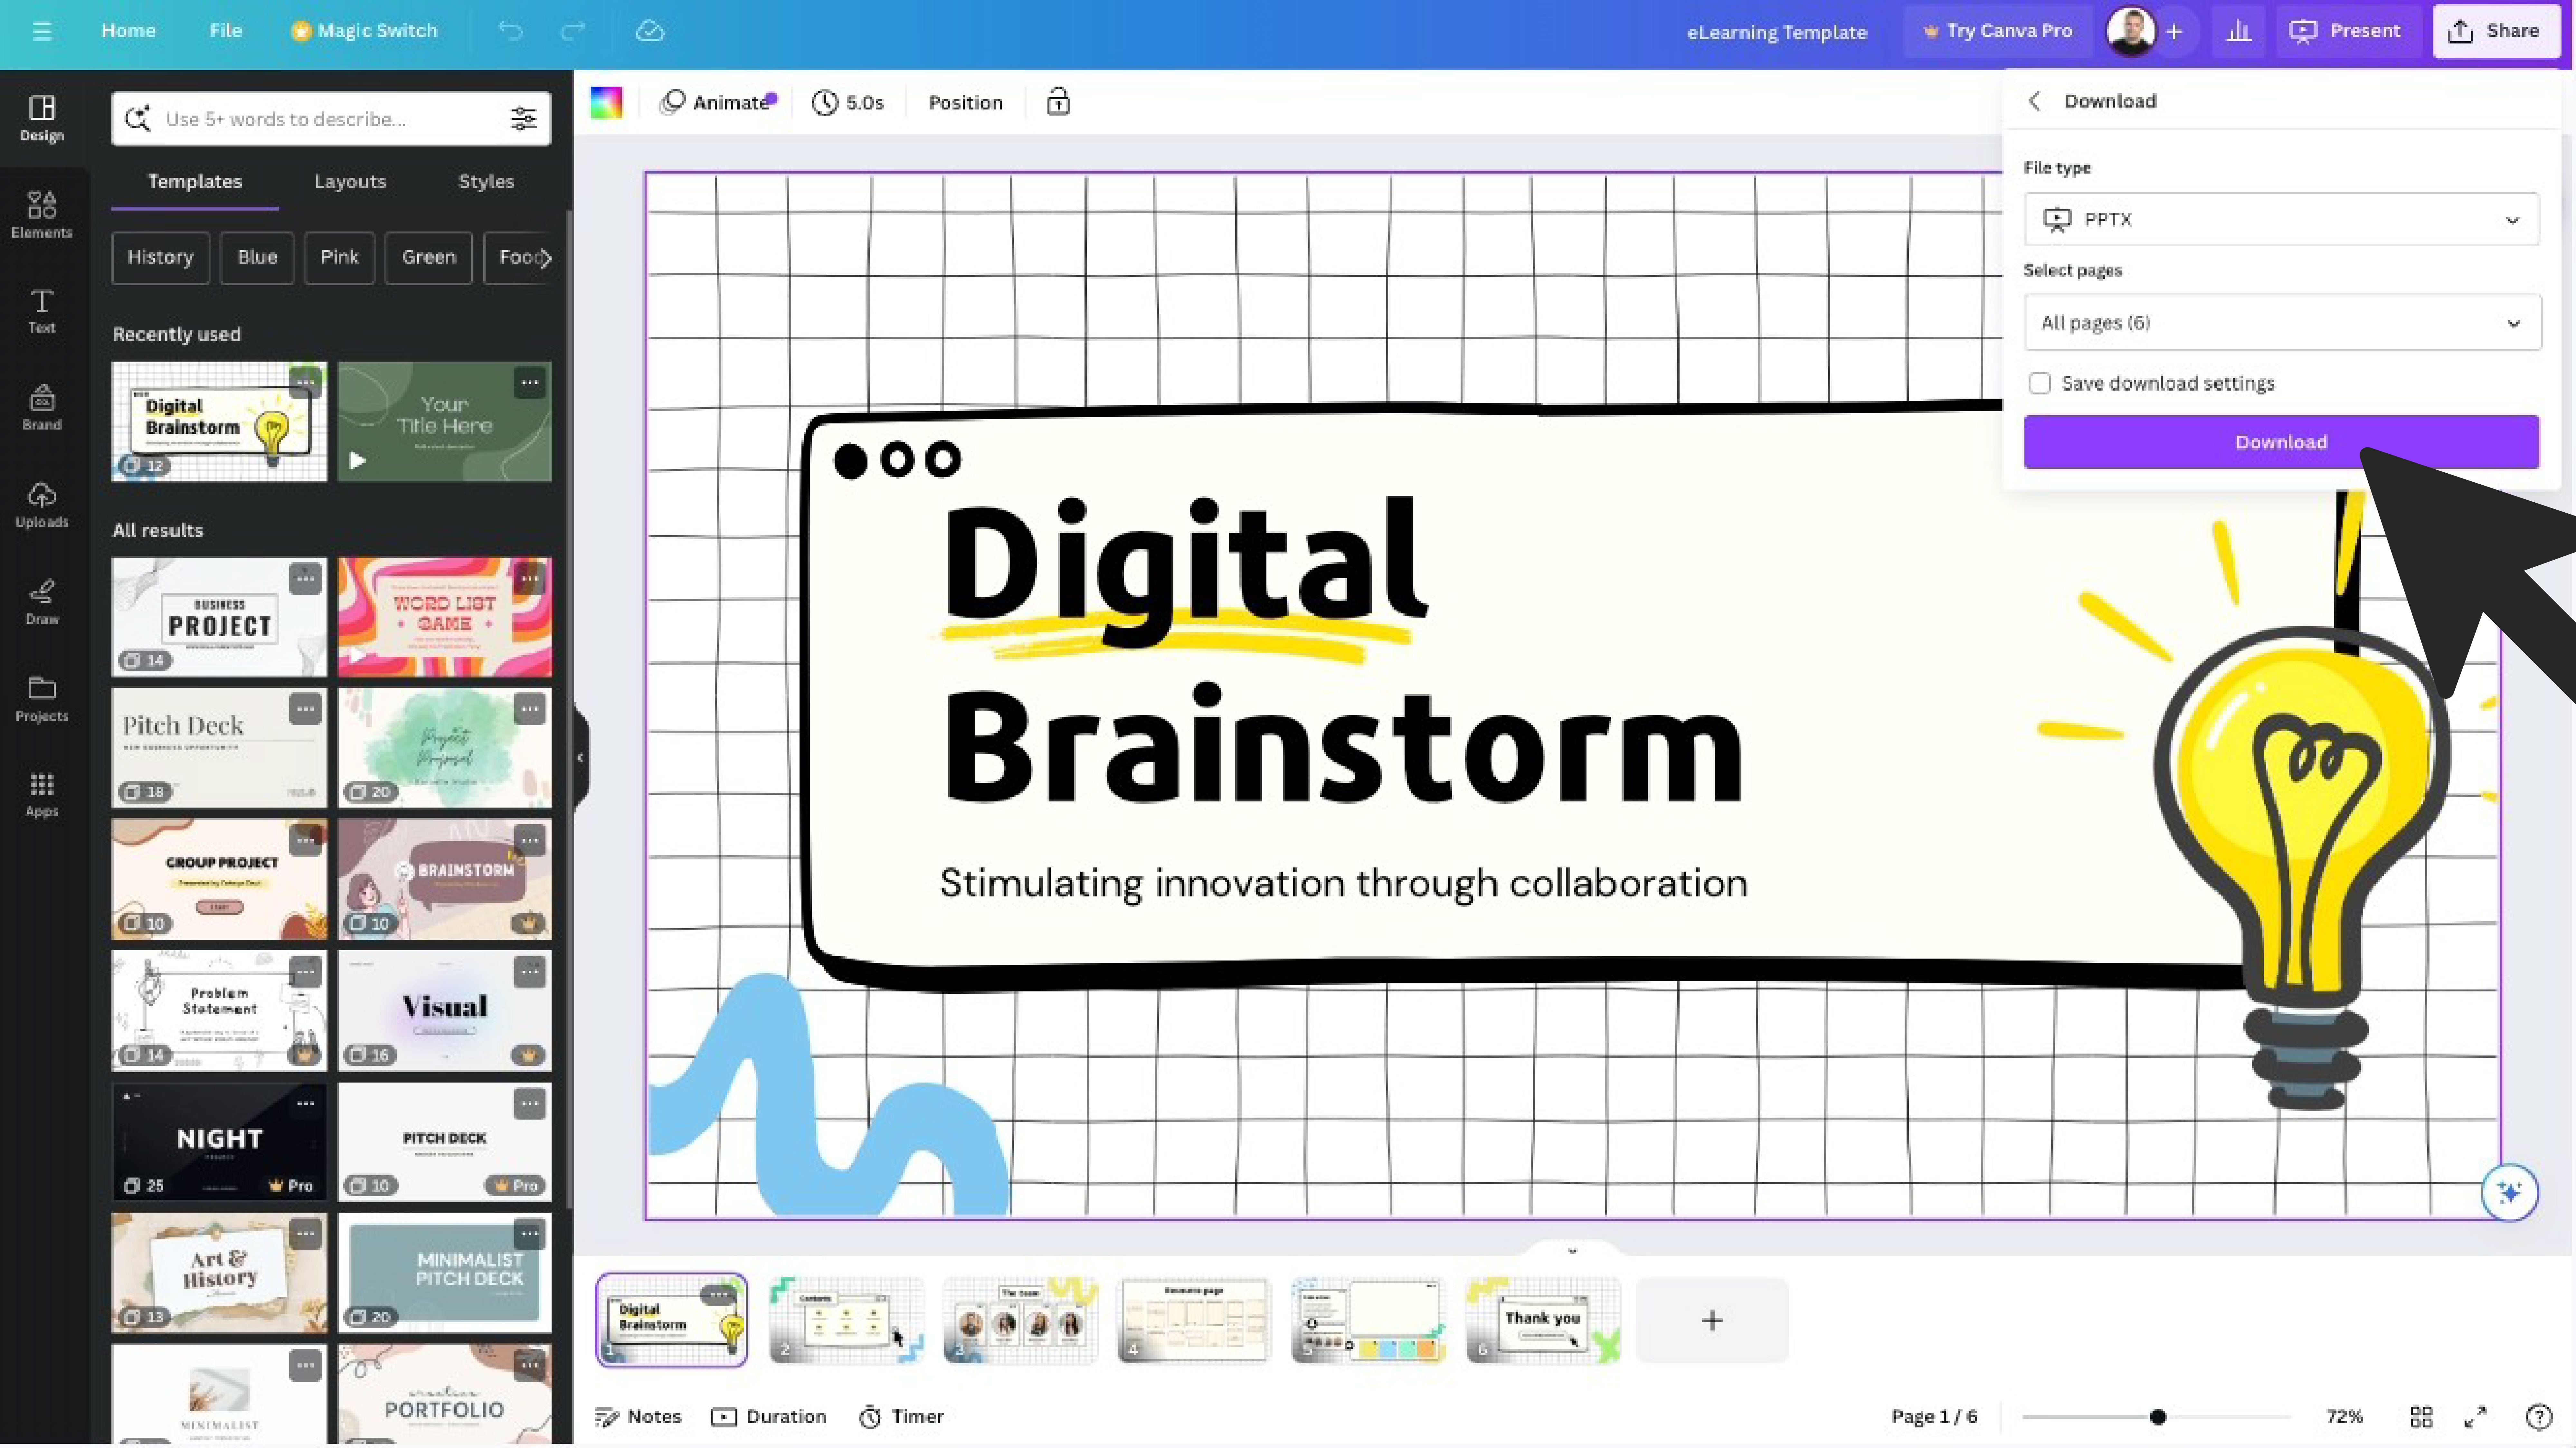
So, once you’re done in Canva, simply click the Share button in the upper-right corner and download the presentation as a PPTX. Easy peasy!
Step Three: Save the Graphics from PowerPoint as PNGs
Okay! So, after you’ve downloaded your Canva presentation as a PPTX, the third step for using Canva graphics in Articulate Storyline is to open it up in PowerPoint and save each individual graphic as an image.
Now, at this stage, you may be wondering why we don’t simply import the PPTX file directly into Storyline. Well, to be honest with you, I rarely recommend using the option to import a PowerPoint file into Storyline. Over the years, it has been my experience that it ends up being more trouble than it’s worth. More often than not, the graphics, fonts, colors, and everything else don’t import as expected. And so, you end up spending more time trying to fix what it imported when it would have been faster and easier to manually insert the individual images and recreate the slides from scratch directly in Storyline.
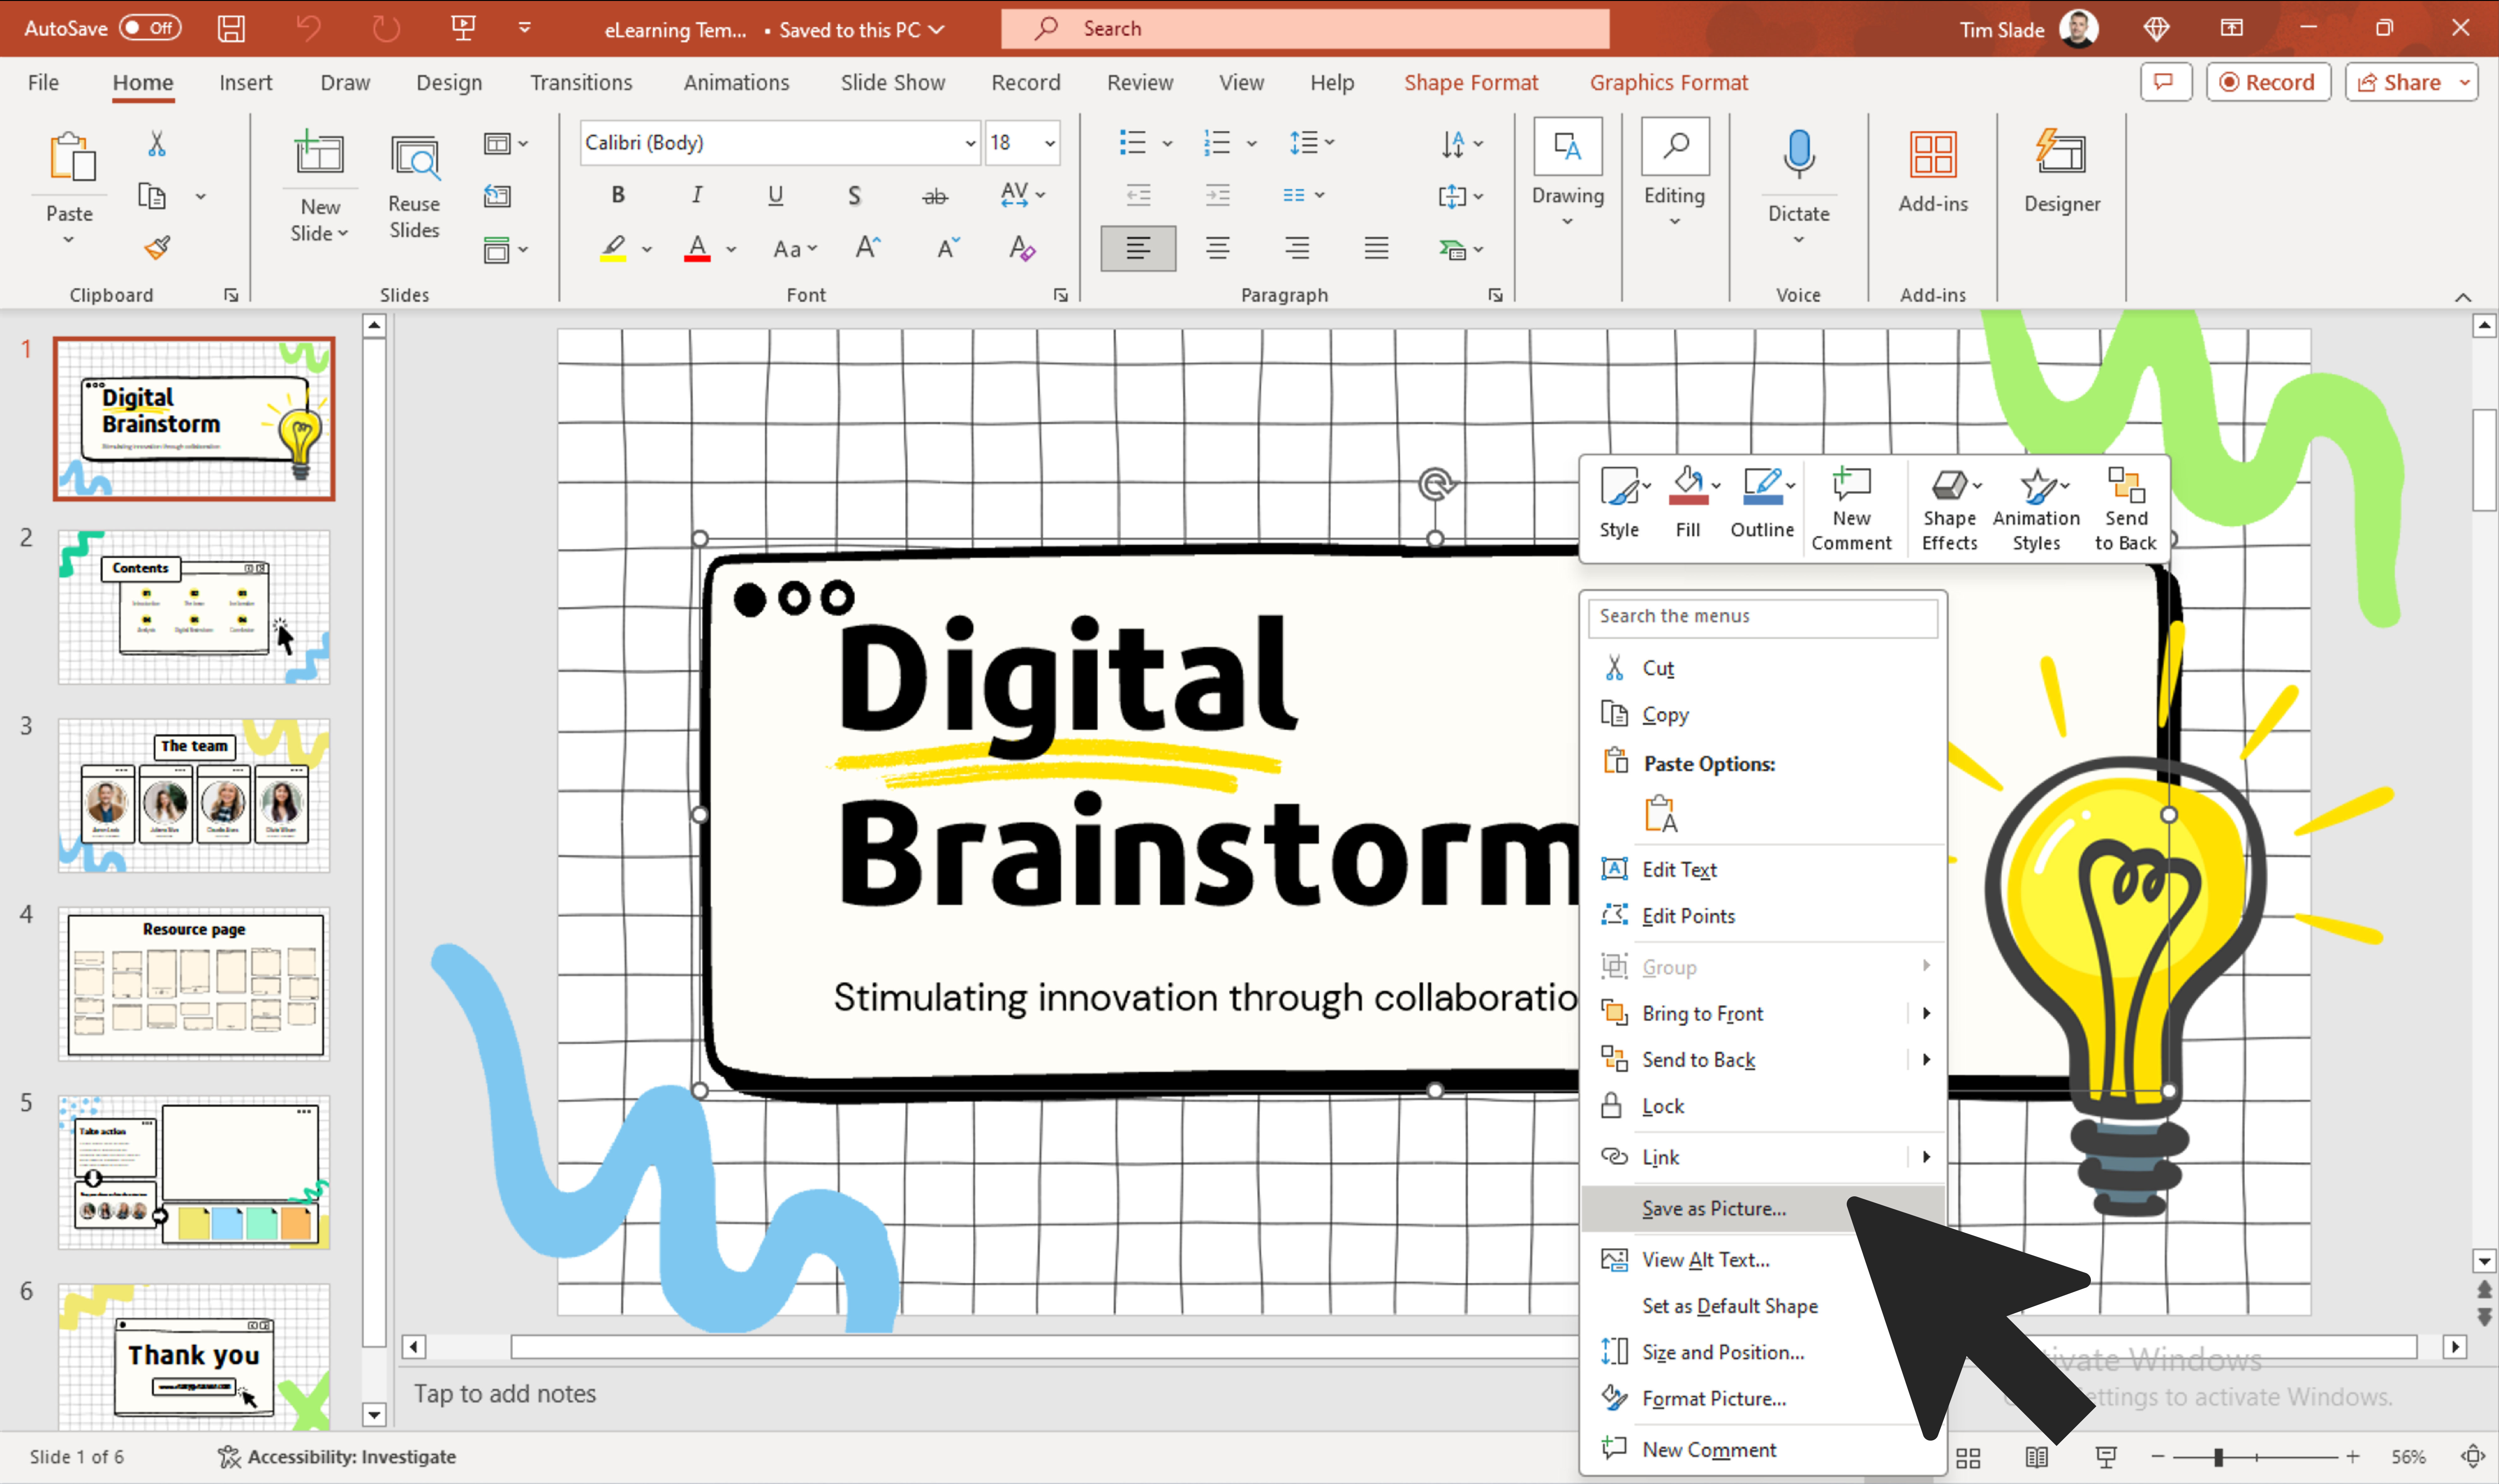
So, once you have the Canva presentation opened in PowerPoint, all you need to do is start right-clicking on each image you want to ultimately insert into Storyline and click the option to Save as Picture. At this point, I recommend saving each image as a PNG file as it’ll allow you to retain any transparencies within the images or graphics you decide to save.
Step Four: Insert the Graphics into Articulate Storyline
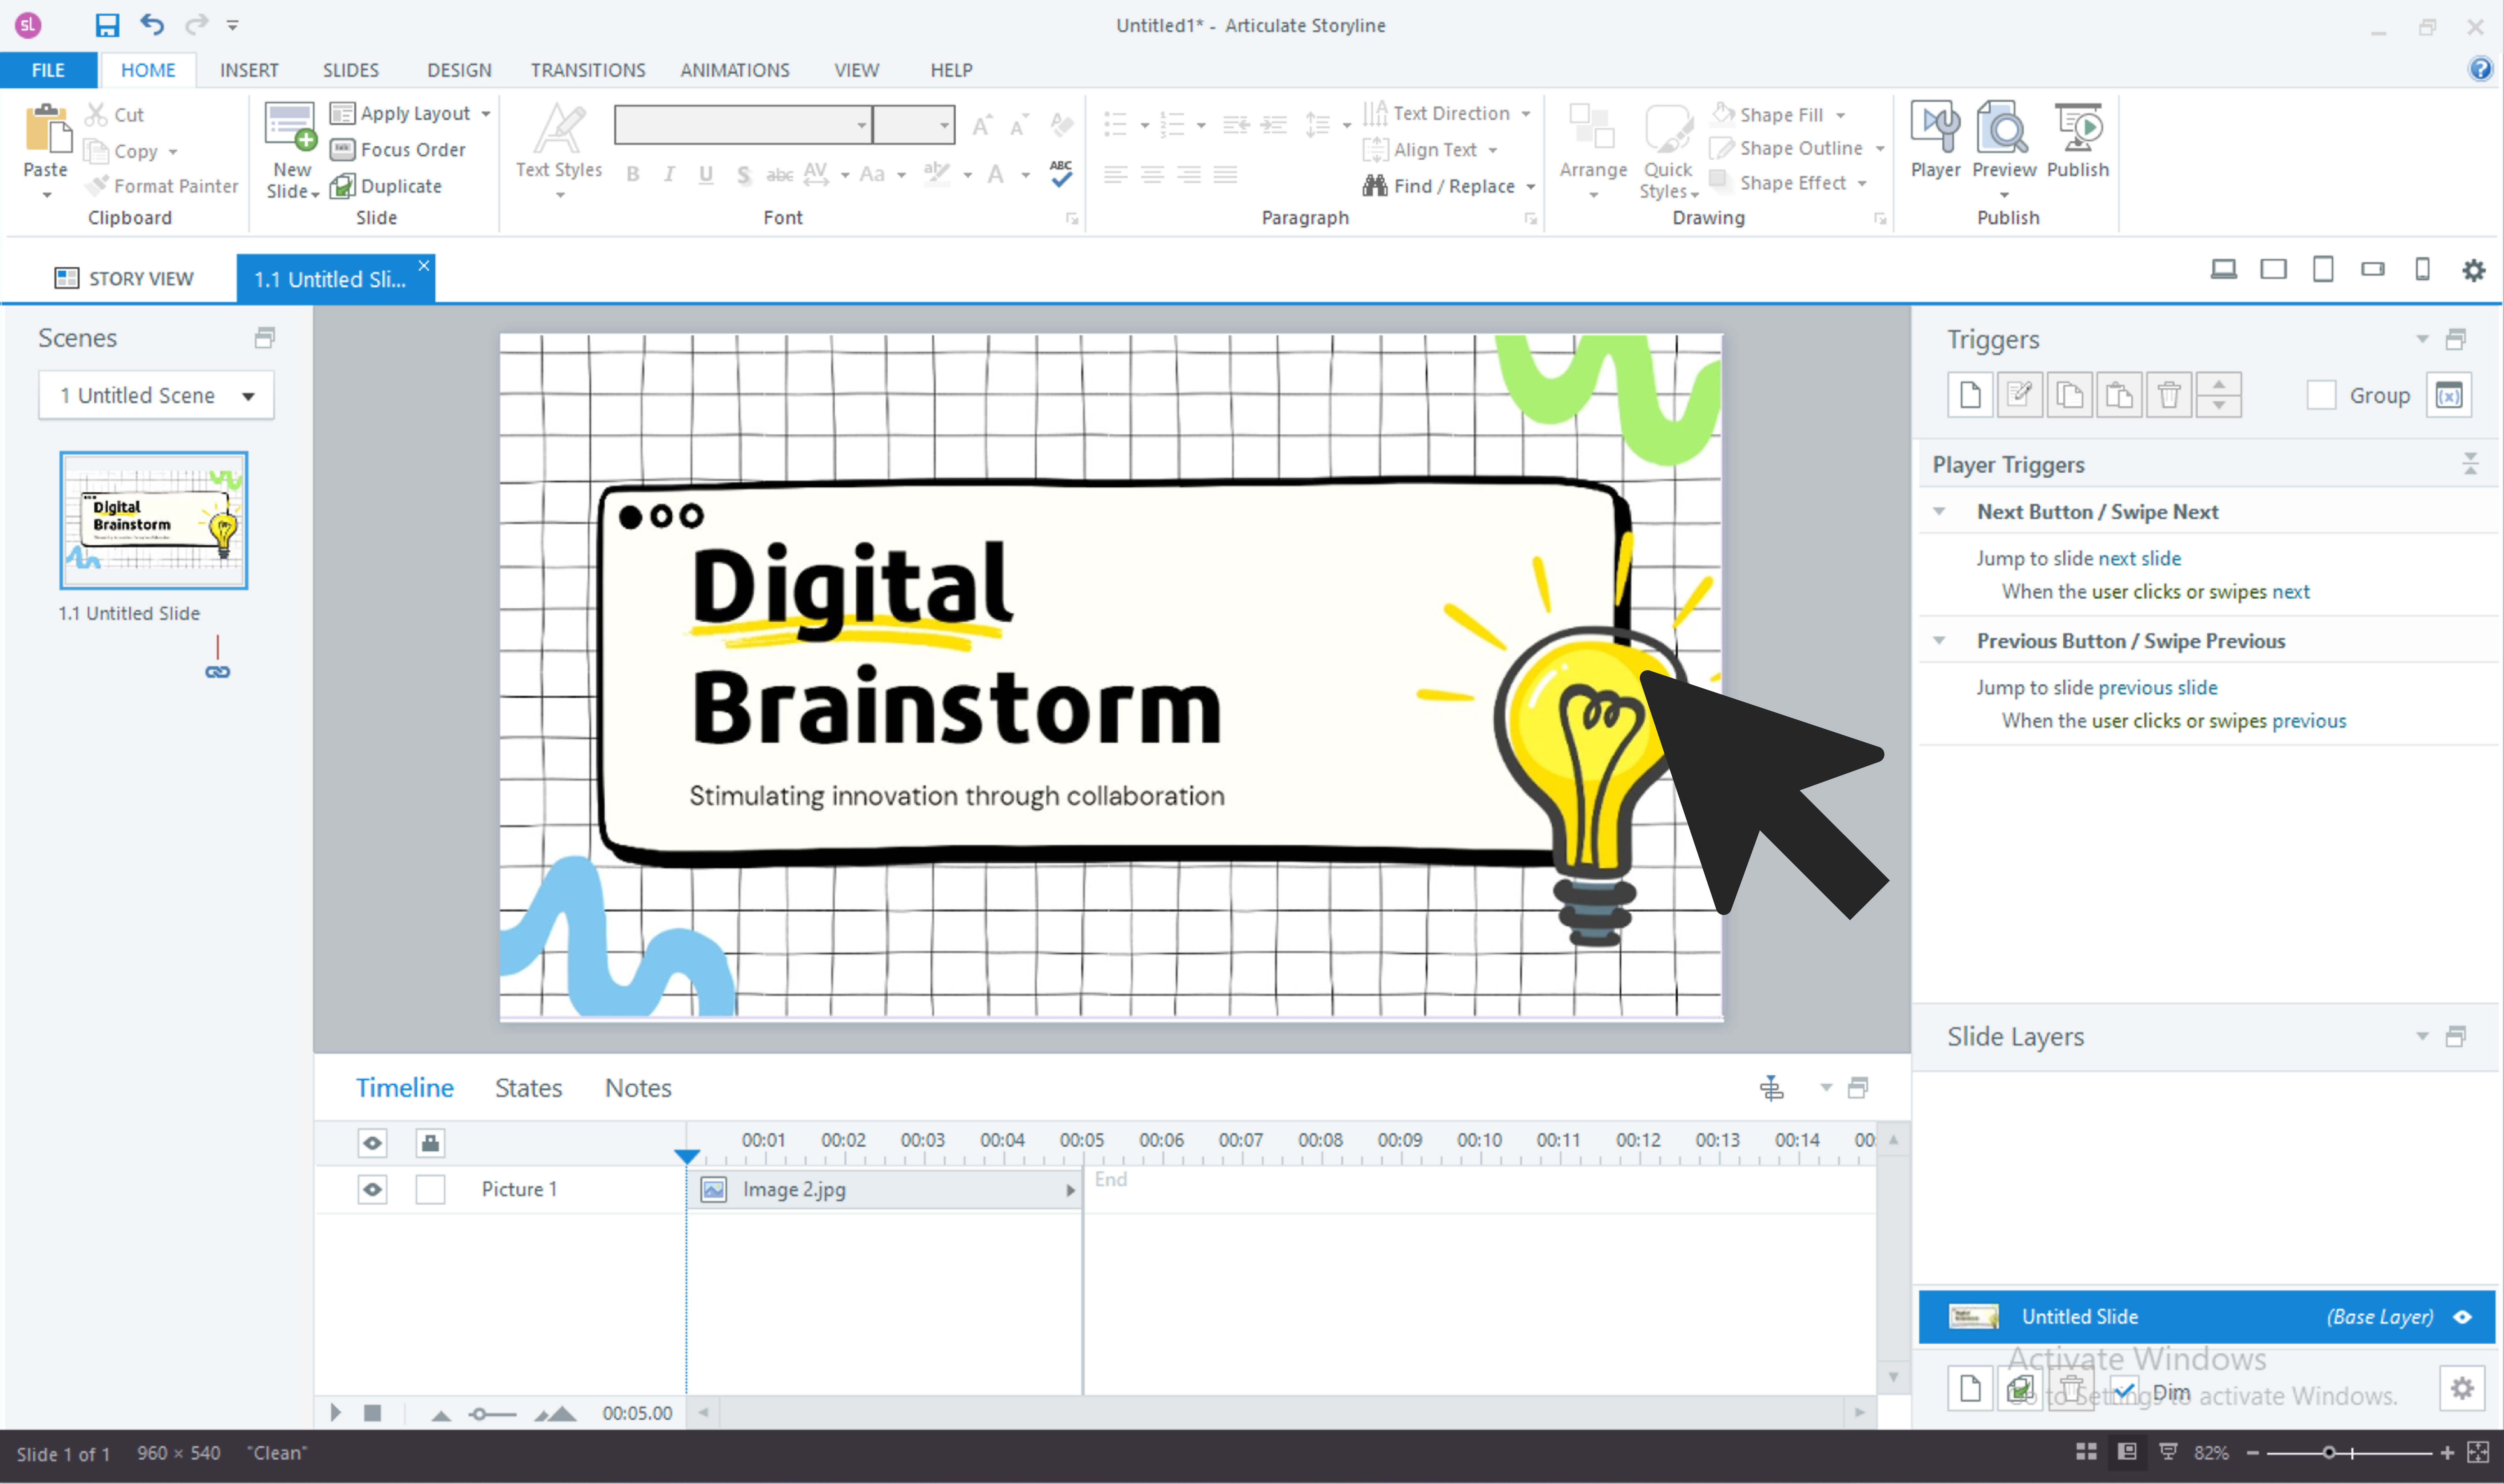
This brings us to the fourth and final step. After you’ve saved each graphic out of PowerPoint as a PNG, it’s now time to insert the images and graphics into Articulate Storyline. This step is pretty straightforward. The goal here is simply to reassemble the slides you initially designed in Canva; however, because we saved each graphic individually, it lets you control and manipulate exactly how you want them to ultimately look in Storyline.
The Bottom Line
So, that’s how easy it is to use graphics and images from Canva in Articulate Storyline. And while it might seem a bit cumbersome to download the graphics out of Canva, open them up in PowerPoint, and then save each one individually, at the end of the day, it ultimately gives you complete control over each graphic and the overall look of your eLearning course.
So, what do you think? How have you used Canva graphics in Storyline? What other tips do you have? Share your thoughts by commenting down below!