May 2026 Design Challenge: Vibe Coded eLearning with Claude Design
Over the past year or so, vibe coding has been steadily growing in popularity.
At its core, vibe coding is the idea that instead of manually building something step by step inside a tool, you describe what you want to create, guide the direction, and iterate on the output until it gets you where you need to go. You are still making decisions, but you are doing it through intent, structure, and feedback instead of clicking through menus, panels, and settings.
It shifts the role from building to directing.
And for a while now, I’ve been thinking about what this could mean for eLearning development. Specifically, whether this approach could eventually replace traditional authoring tools as we know them today. Tools like Storyline or Rise are built around manually assembling experiences, but vibe coding introduces a completely different way of creating.
Up until recently, that idea felt a bit theoretical. But I think we’re starting to see something that could actually move in that direction.
Anthropic just launched Claude Design the other week, and like a lot of you, I’ve been spending some time experimenting with it.
Not just casually testing prompts, but actually trying to use it the way we would in a real instructional design workflow. I’ve been uploading full storyboards, applying client style guides, and giving it structured direction based on actual performance problems. I wanted to see what happens when you treat it less like a toy and more like a production tool.
And honestly, the results are pretty wild. Last week, I shared a video of my initial impressions and what I was able to create.
What we are starting to see with tools like this is not just AI helping us work faster. It is the early version of something that could significantly change how eLearning gets built. There is no traditional timeline, no triggers panel, no layers, and no authoring interface in the way we are used to. Instead, you are describing the experience you want to create and guiding the system toward that outcome.
This idea of vibe coding, where you are shaping the output through intent, direction, and iteration instead of manually building everything piece by piece, has some real implications for how we approach design and development.
So instead of just talking about it, I thought it would be more useful to actually put it into practice.
✅ The Challenge
For this month’s challenge, we’re doing things a little differently.
Instead of providing a single business case, performance problem, and client scenario for everyone to work from, we’re opening things up and giving you more flexibility in what you choose to design.
You’ll start by selecting any past Design Challenge topics from the community. That becomes your foundation. You’ll use the original business case, performance problem, audience, and any supporting materials like prompts or style guides that were provided in that challenge.
From there, your job is to reinterpret that challenge using Claude Design.
Specifically, you’ll create a vibe-coded proof of concept that shows what a portion of that course experience might look like if it were built entirely through Claude Design. This is not about recreating the original solution. It is about exploring how your approach to that same problem changes when you shift the way the experience is built.
Think of it as taking a familiar problem and redesigning it through a completely different lens.
Your final submission should represent a small but meaningful slice of the experience, something that demonstrates how you are using Claude Design to shape structure, interaction, and flow in a way that supports the learning goal.
⚙️ Requirements & Constraints
To keep things focused and practical, there are a few guidelines to follow as you design your submission.
Your project should be created entirely using Claude Design. The goal here is to explore this workflow, so avoid using traditional authoring tools like Storyline or Rise.
Keep your scope small but meaningful. You are not expected to build an entire course. Focus on a specific slice of the experience, such as a scenario, a guided interaction, a short learning sequence, or a decision making activity.
As you work through your concept, think carefully about how you translate a performance problem into prompts and direction. You are no longer building screen by screen in a tool, so your ability to guide structure, flow, and interaction becomes the core of the work.
For example, you might start with a storyboard or design outline, apply a client style guide, and then use Claude Design to generate and iterate on the experience from there. For example, in the video walkthrough above, I took a full cybersecurity storyboard and style guide from our June 2025 Design Challenge and used Claude Design to generate a complete course experience. That kind of structured input is a strong way to guide the output.
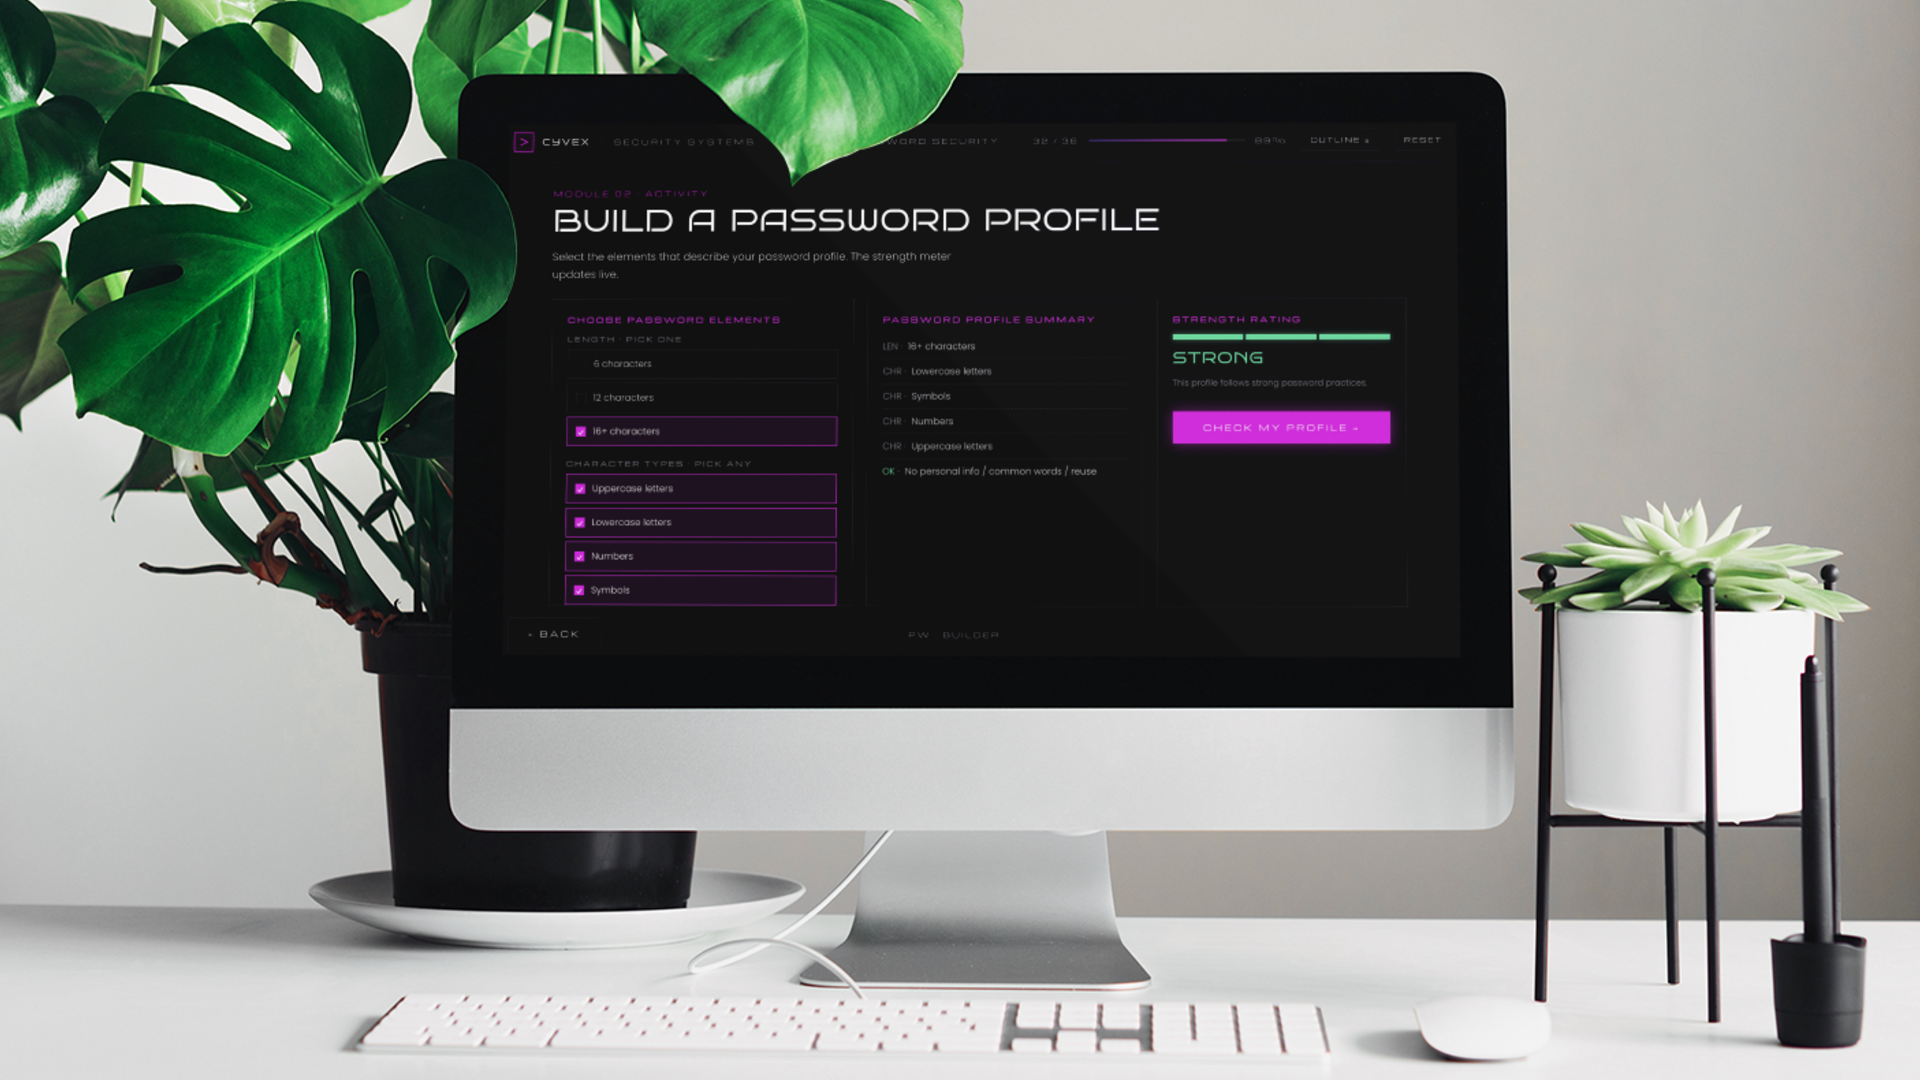
As you build, pay attention to what decisions you are still making versus what the AI is making for you. Notice where this approach works well and where it starts to break down. Those observations are just as important as the final output.
Your final submission should demonstrate a clear learning goal, an intentional structure, and some level of learner engagement and interactivity.
🏆 Submission Guidelines & Contest Rules
Once you're done building your project, you can submit it by commenting below and sharing a link to your finished project. You can share a link directly from Claude Design, or follow along in my video above to host the project for free on Netlify. Along with a link to your published course, share a few words explaining your design decisions, challenges, inspiration, etc.
To be eligible to win the $100 Amazon gift card, your submission must be posted no later than Friday, May 29th, at 11:59 PM ET.
You can learn more about the contest rules and criteria here.
If you’d like to get more eyes on your submission and encourage others to participate in the challenges, you might also consider…
Writing a Blog Post: If you happen to have a blog or online portfolio, write a post about your submission and share it on social media. Make sure to link to it in the comments below for others to see!
Record a Video: If you want to share how you went about designing your submission, record and share a screen recording video (via Loom, Camtasia, SnagIt, or YouTube) to showcase and explain your process. And, of course, don't forget to share a link to it in the comments below!
Share on Social Media: If you’re active on LinkedIn, Twitter, or another social media platform, create a post to share your submission. If possible, make sure to link back to this page and tag The eLearning Designer’s Academy on LinkedIn in your post.
💬 Give & Get Feedback
After you've shared your submission, make sure to review what others have submitted and provide constructive feedback. Remember, the monthly challenges (and this community as a whole) are meant to provide an inclusive and supportive environment. As you provide feedback, make sure to keep our Code of Conduct in mind.
As you work to develop your project, also consider sharing your work-in-progress for community feedback in our Get Feedback space here.
🎉 Challenge Recap, Submissions & Winner
For this month’s challenge, the submissions truly blew us away! The level of creativity, diversity, and overall quality was amazing to see! Great job to everyone who participated!
Claude Submissions.mp4For this month, we had a hard time picking a single winner…so we chose FIVE winners! Congratulations to Ronnie, Sherry, Maria, Charlotte, and Monique! Your attention to detail, commitment to instructional quality, and complexity of interactivity truly inspired the heck out of us!
🏆 Assisting Customers with Lost & Delayed Holiday Orders by @Sherry Chu
🏆 Finding Home: A First-Time Home Buyer Guide by @Monique Williams
Check out all of this month’s challenge submissions (in no particular order):
🙋♂️ New to the Design Challenges?
If you're new to the eLearning challenges, check out this post to learn how they work.