How to Use Scenes & Slides in Articulate Storyline
One of the great things about learning how to use Articulate Storyline for the first time is how similar it is to Microsoft PowerPoint. As I’ve shared before, once you get a solid understanding of the Storyline interface, you quickly realize that if you already know how to do something in PowerPoint, then you likely already know how to do it in Storyline. However, this is not the case with all features, especially when it comes to working with scenes and slides.
The ability to structure your learning content into scenes and slides in Storyline enables you to organize your content in a meaningful way. So, in this article, I’ll provide an overview of how to work with scenes and slides in Articulate Storyline.
What are Scenes in Storyline?
So, the first question we need to ask and answer is: What are scenes in Articulate Storyline? Well, when you first create a new project in Storyline, you’re brought to Story View (sometimes referred to as Scene View). To put it simply, Story View provides a high-level overview of your entire project, along with all of your project’s scenes and slides.
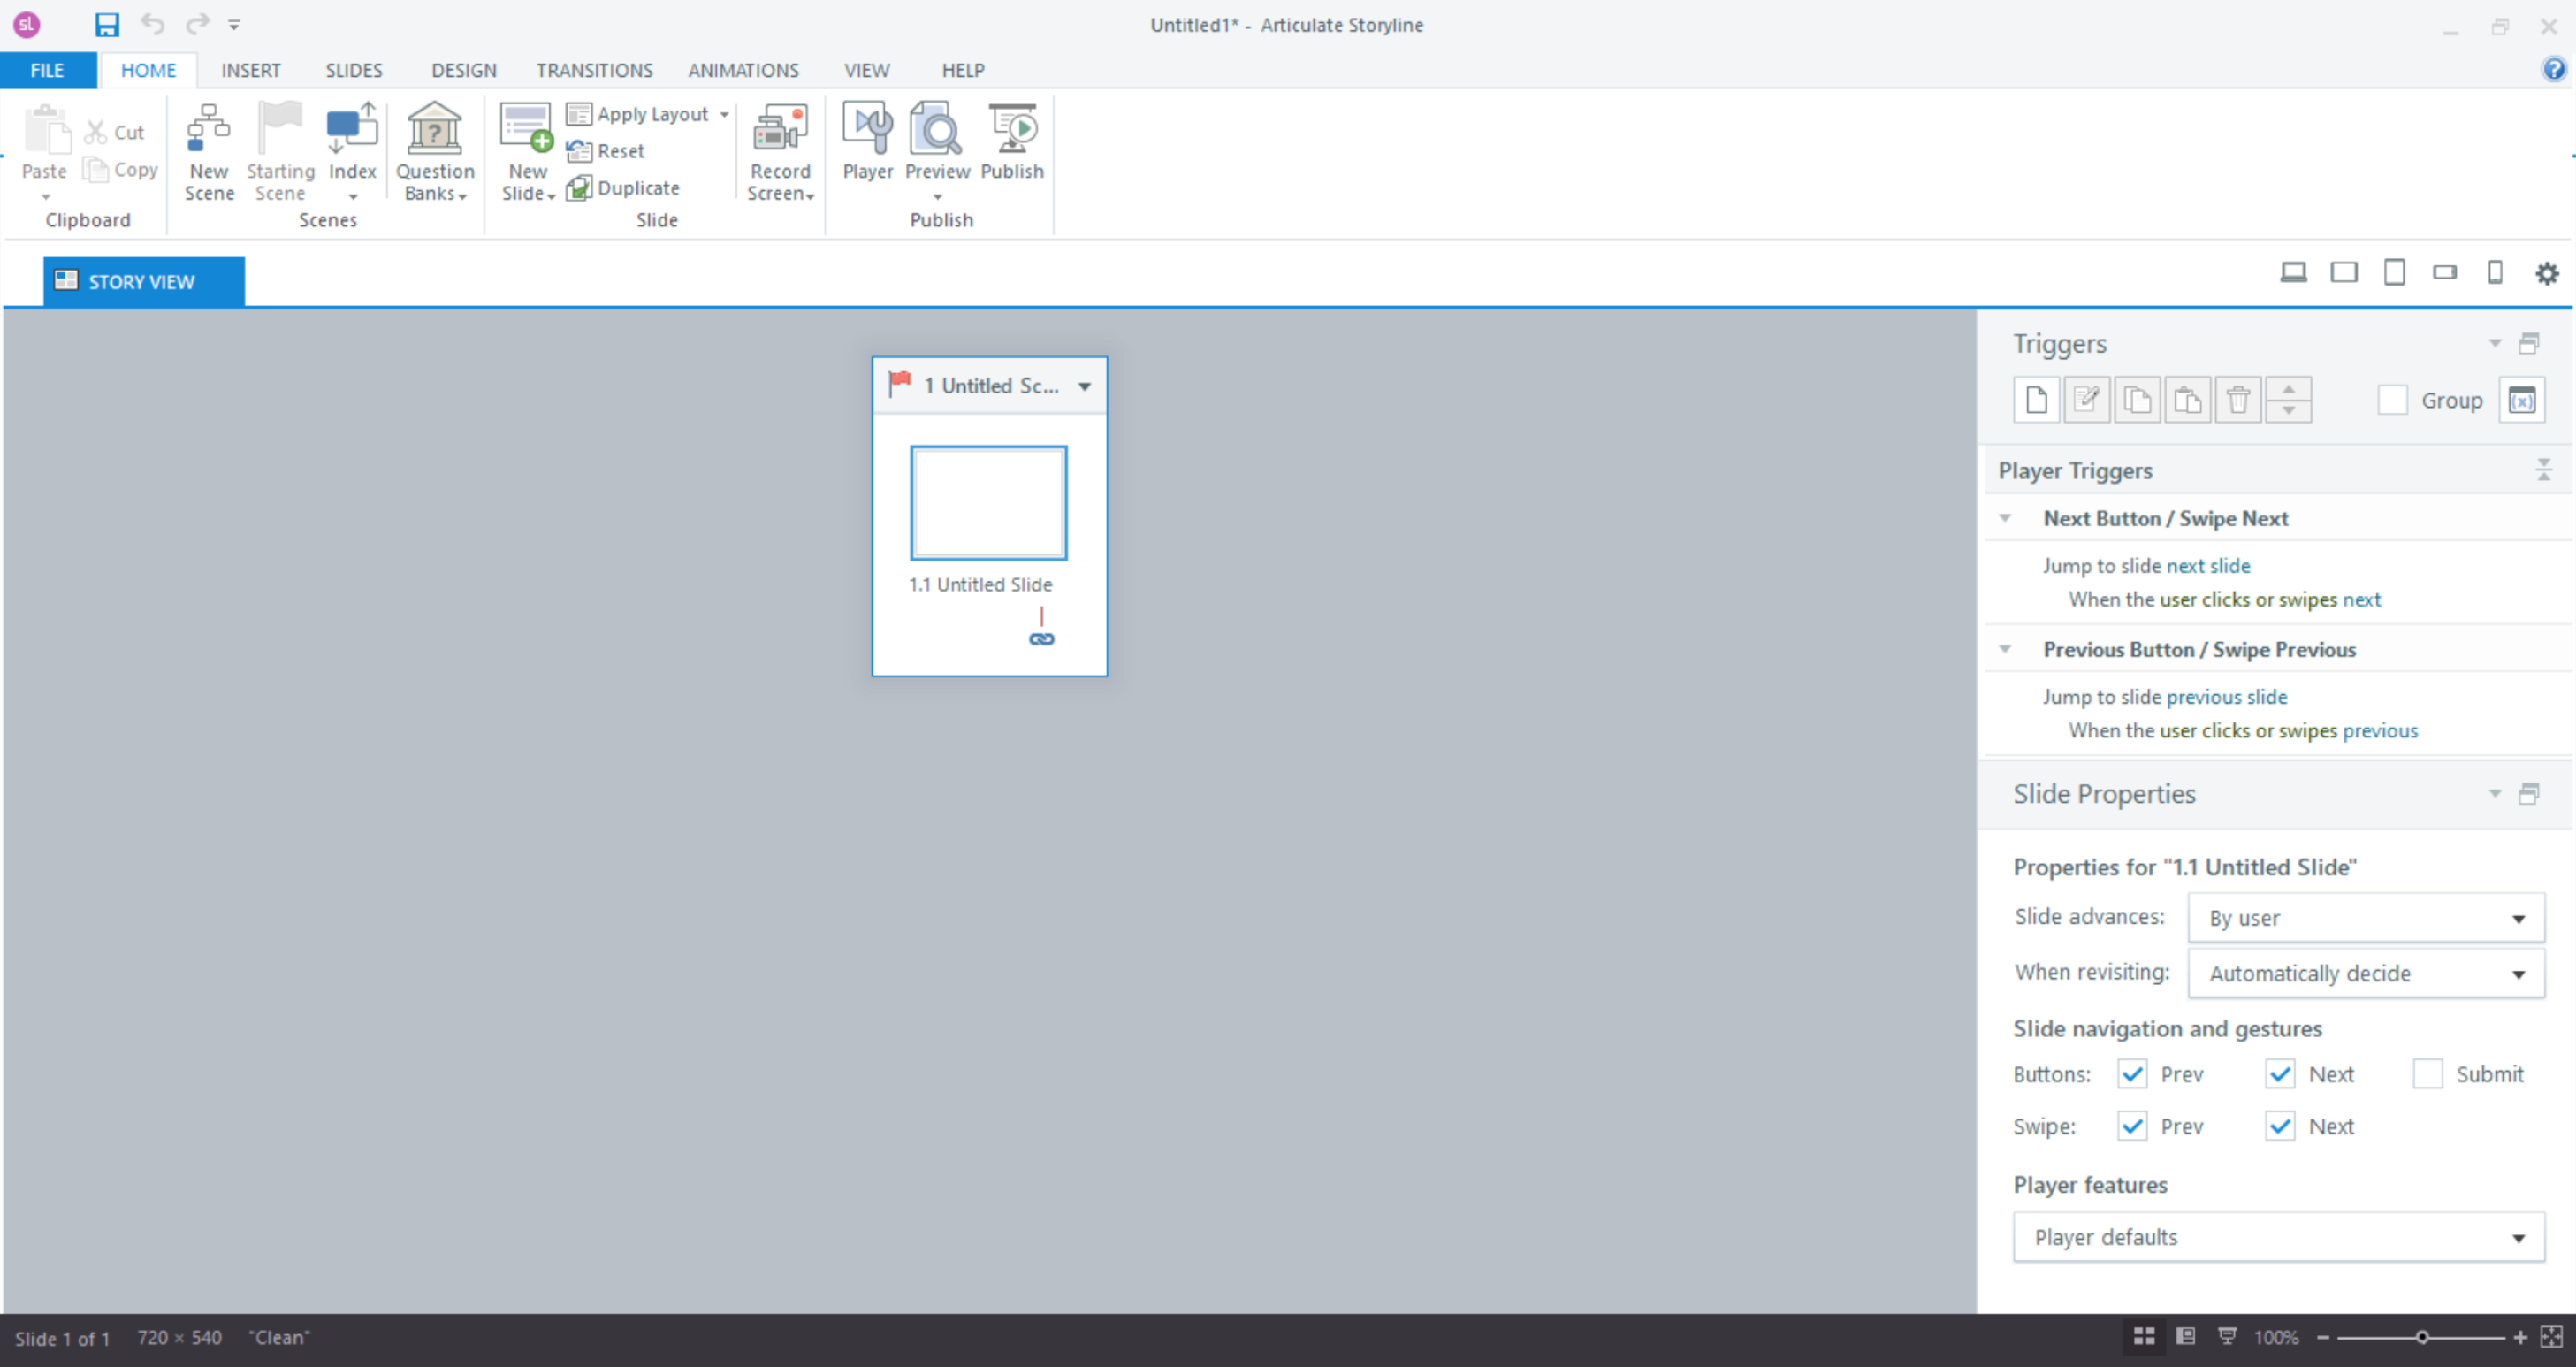
While there’s no single right or wrong way to use scenes and slides, one way to think of them is like pages and chapters in a book—a book is made up of multiple pages grouped into multiple chapters.
The same concept applies in Articulate Storyline. A Storyline course consists of multiple slides (just like a PowerPoint presentation) grouped into one or more scenes, which together make up the course. However, the main difference is that while the structure and flow of a book (pages and chapters) are usually written and read in a linear fashion, the scenes and slides of an Articulate Storyline project can be both linear and non-linear.
Free Course: 10-Day Career Mindset Reset
Inside The eLearning Designer’s Academy, we think a little differently about professional development and career growth. Enroll in our free 10-Day Career Mindset Reset to start thinking differently about your skills, career, and confidence!
Linear Course Structure
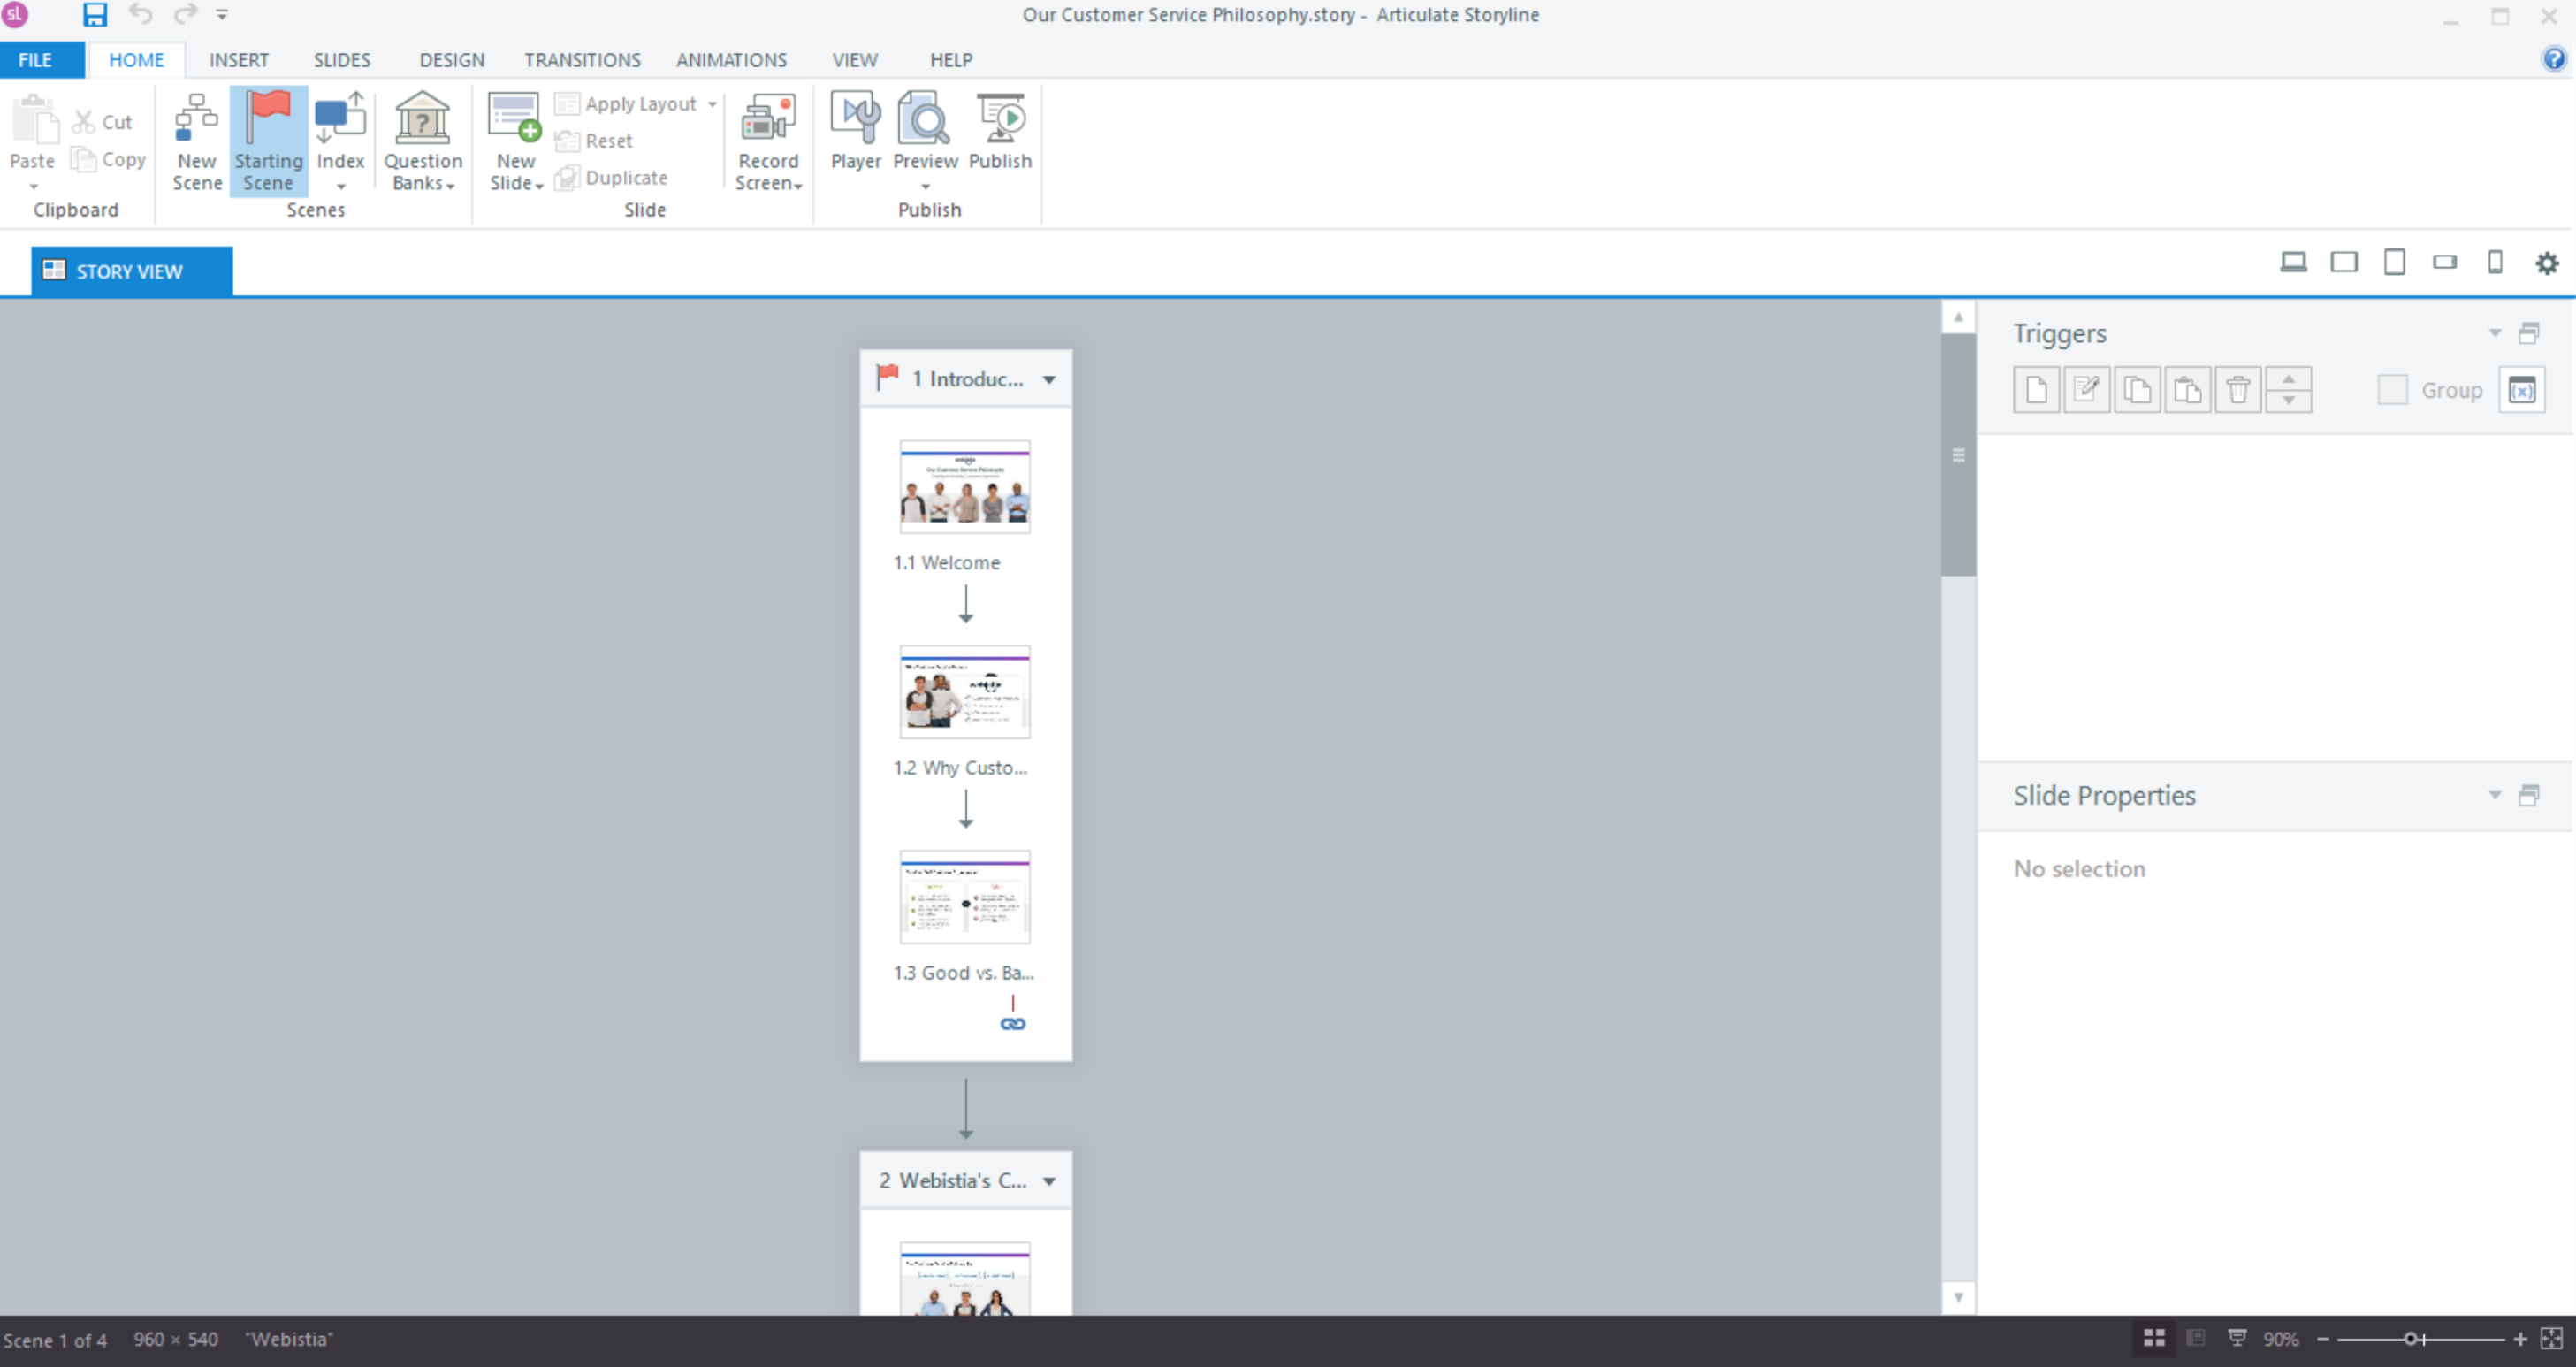
Linear courses in Storyline are just that: a set of multiple slides grouped into one or more scenes that are presented in succession—meaning that the learner will view each slide one after the other.
Non-Linear Course Structure
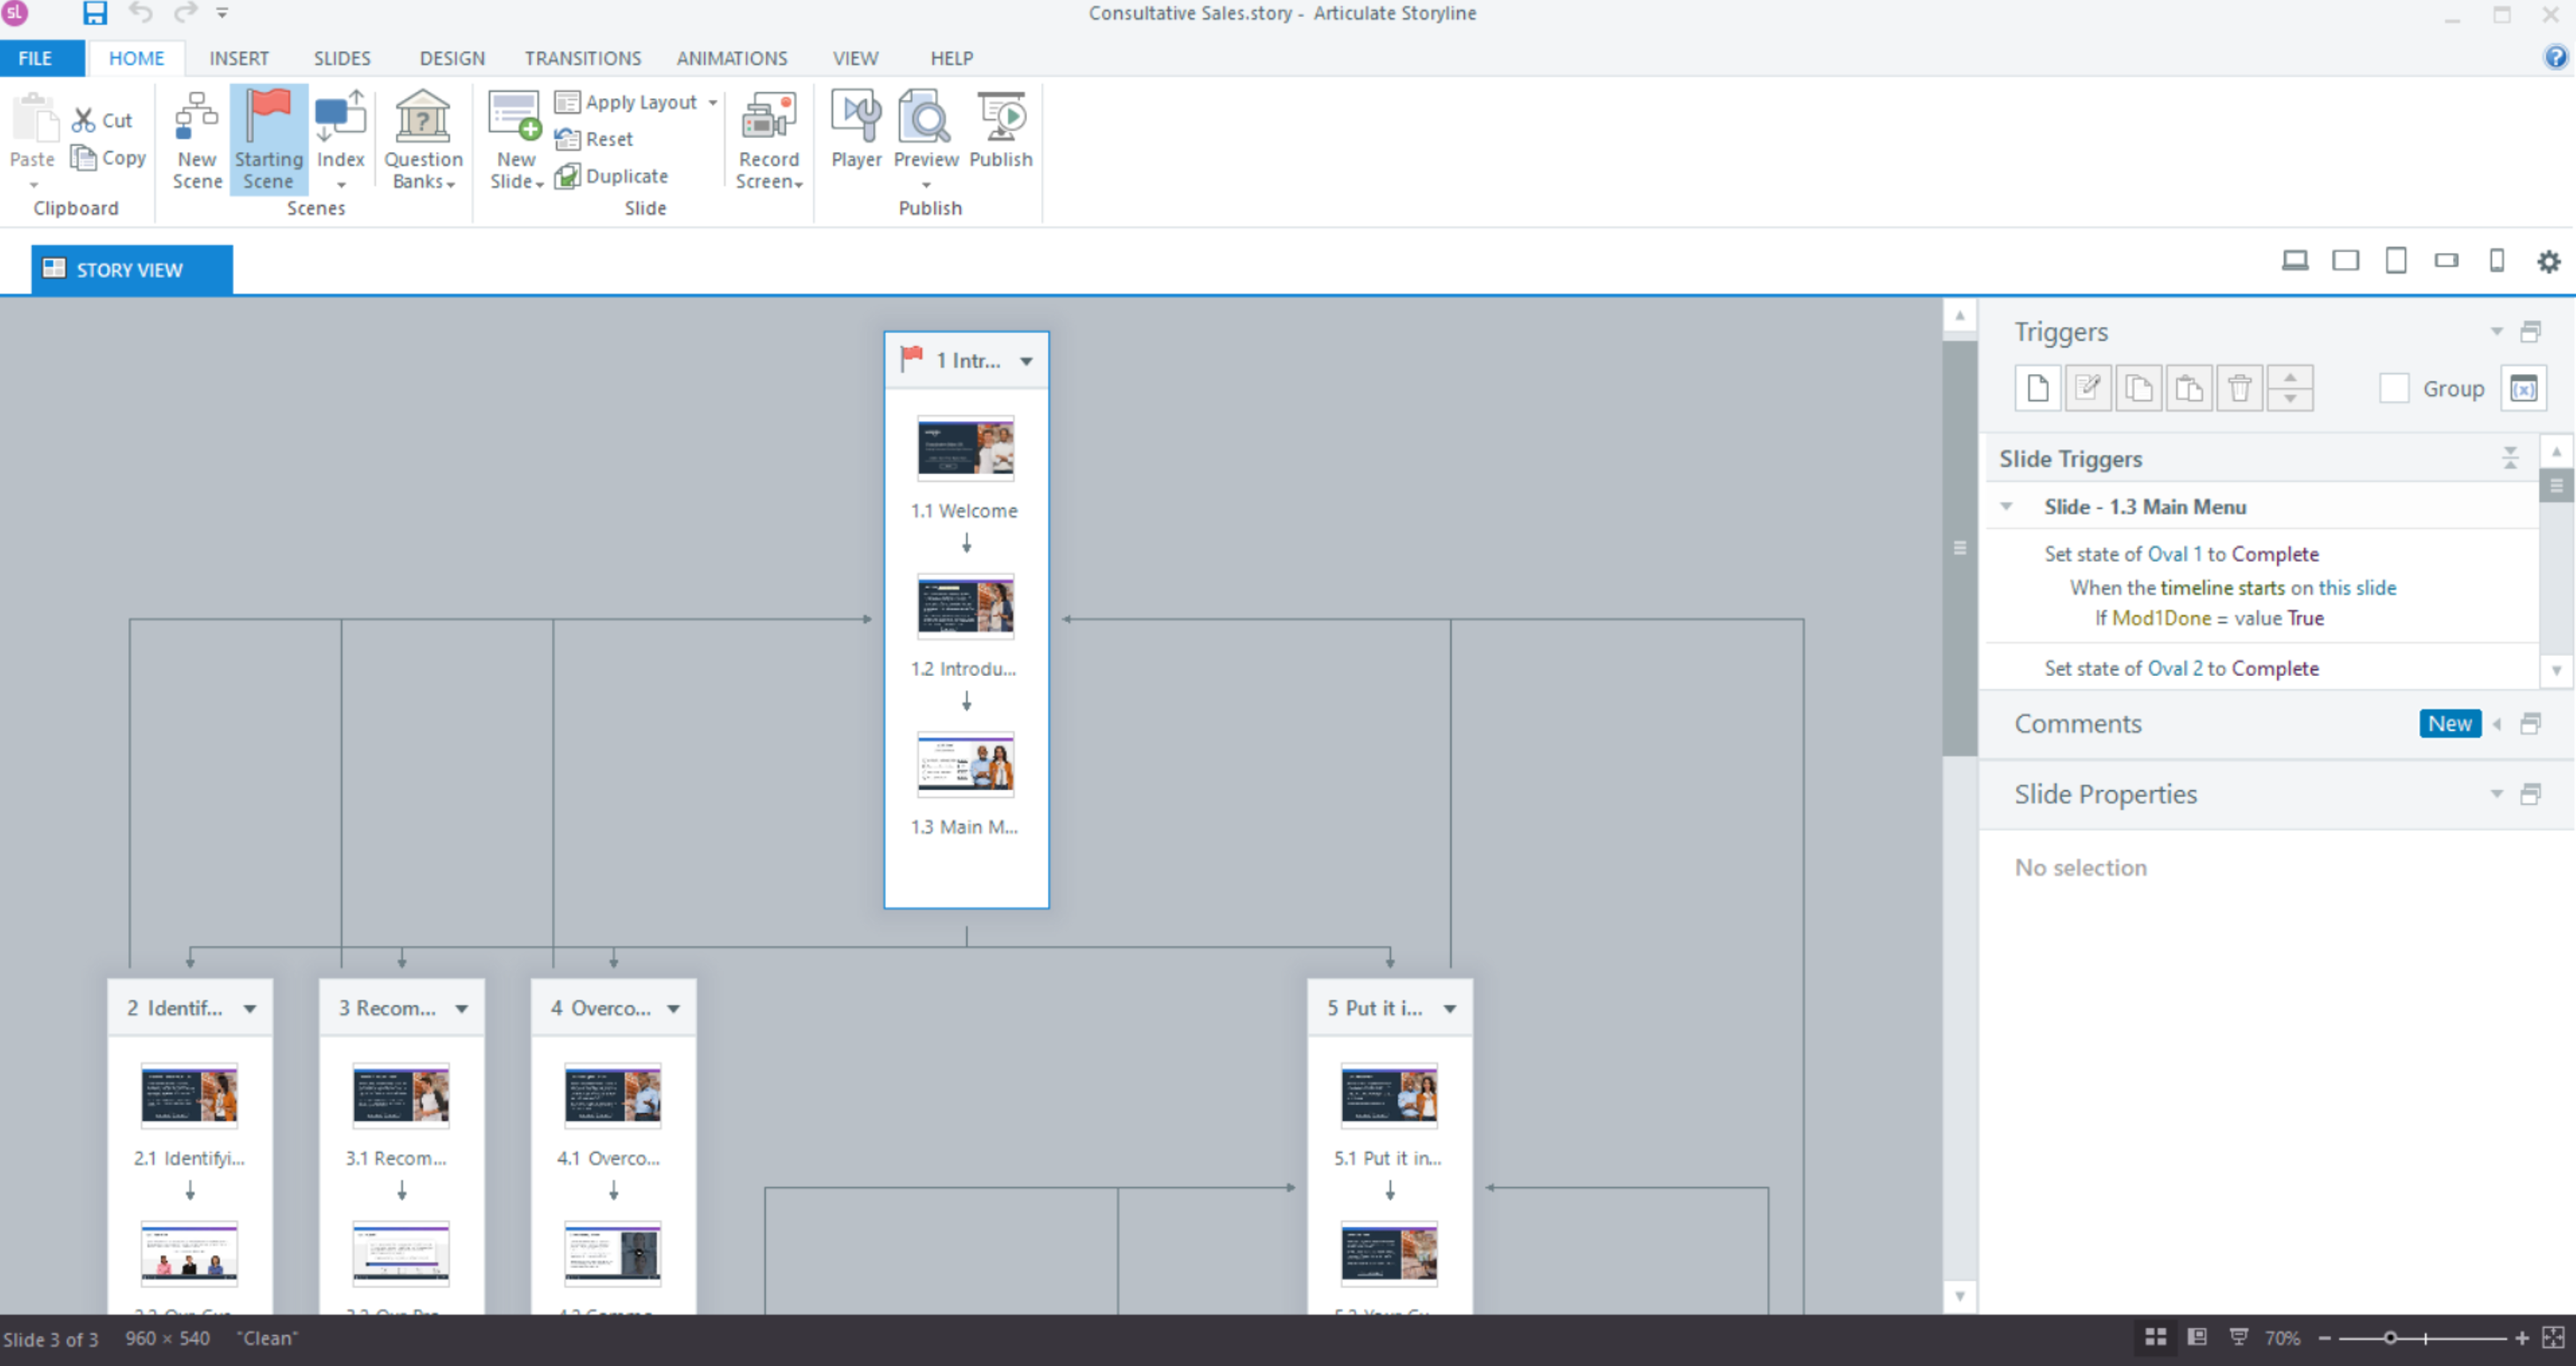
Non-linear courses in Storyline are made up of multiple slides grouped into one or more scenes but are structured in a branched manner (for example, a course with a menu that allows the learner to jump to different sections or topics of a course). Another example might include a branching scenario interaction where the learner is given the option to make a selection and is branched to different outcomes.
Working with Scenes
Once you understand what scenes are, you can start using them to organize the slides within your project. It’s important to remember that there’s no “right way” when it comes to using scenes—for the most part, they exist simply to help you organize your content meaningfully. Again, it helps to think of them like chapters in a book or modules within a lesson.
With that in mind, Storyline offers many options to help you work efficiently with the scenes within your project…
Set the Starting Scene: Every project has a starting scene which indicates the first scene the learner will be presented when they launch your course. You can identify the starting scene with the small red flag icon next to the scene title. However, if you ever want to select a different scene as the starting scene, you can simply right-click on another scene and identify it as the starting scene or by selecting the Starting Scene button in the ribbon of the Home tab when in Story View.
Adding Scenes: If you want to add additional scenes to your project, simply right-click anywhere in the grey area of Story View and select the option to add a new scene.
Renaming Scenes: Whenever possible, it’s a good idea to give meaningful names to objects in Storyline; this includes your scenes. To rename a scene, simply double-click the title to start editing or right-click on the scene and select the option to Rename. Whatever name you provide for your scene title is what will be displayed by default to the learner within the menu of the player. However, you can change this by customizing the player menu.
Renumbering Scenes: If you need to renumber a scene, simply click on the Index dropdown from the Home tab in the ribbon from Story View and select the new number you’d like to use for the scene. This will automatically renumber the scenes.
Deleting Scenes: If you need to delete a scene (along with all of the slides contained within it), right-click on the scene and select the option to Delete.
While working with scenes is pretty straightforward, a question we’re commonly asked is how you can reorder scenes in Storyline. It’s important to remember that while you can name and renumber scenes with the Index, there is no way to reorder or rearrange the scenes or change the way they’re positioned in Story View. Articulate Storyline automatically organizes scenes based on how they’re connected.
Working with Slides
Working with slides in Articulate Storyline is just as straightforward as working with scenes.
Adding Slides: Storyline provides several options for adding new slides. While you can easily add new blank slides by clicking the New Slide dropdown from the Home or Slides tabs in the ribbon, you can also right-click below any existing slide to add a new slide.
Renaming Slides: Just like scenes, you can also rename your slides and give them meaningful names. By default, a slide will be titled “Untitled Slide;” however, if you want to change the slide title, simply double-click the title to edit it. Similar to scene names, slide titles will be displayed to the learner within the menu of the player.
Moving Slides: Moving or rearranging slides in Storyline is just as simple as moving or rearranging slides in PowerPoint. To move a slide, simply click and drag it to the new location. Whether you’re moving a slide within the same scene or to a different scene, a small blue arrow will appear to indicate where the slide will be inserted.
Next Steps for Learning How to Use Articulate Storyline
Okay! So, once you have an understanding of how to work with scenes and slides, what’s next? Well, at this point, this is when you’ll want to start learning how to create and edit content on your slides, how to work with audio and animations in the timeline, and how to create basic forms of interactivity with triggers and slide layers.
So, when you’re ready, check out these articles and videos to continue your learning:
How to Add & Edit Content in Articulate Storyline (coming soon)
The Bottom Line
While grouping your slides into scenes might seem confusing at first, remember that they’re there simply to help you organize your content in a meaningful way. Whether you like to think of scenes like chapters in a book, modules in a lesson, or sections of a presentation, scenes, and slides are the foundation for structuring the flow of your course content and learner experience.
So, what other tips or questions do you have about working with scenes and slides in Articulate Storyline? Share them by commenting down below!